Showing posts with label P90. Show all posts

Monday, 30 November 2015

Ash Mosrite: Black it is!

I finally got a new pickguard in the mail today from my mate Craig (pablopepper) on the Buildyourownguitar forum. This time it's a black guard to replace the garish white one that I had previously ordered from him. And (queue the fanfare) - I think we finally have a winner!!

A new black custom pickguard and it's all coming together.
Although the subtle burst that I've ended up with on this guitar is not what I originally envisioned for it, I am really coming around to the distinctly vintage feel to this one. With the black guard and the cream soapbar P90s she's just oozing retro cool. I'm thinking now that a black gloss headstock will match the pickguard very nicely indeed, paired with a Fender yellow neck for more uber Vintagey goodness.

The body now has many, many coats of acrylic lacquer applied. All that is left to get her looking swish is to smooth the surface down with some 600 grit, slap on a couple more layers of lacquer, and then polish the christ out of it. I tell you, I'm really looking forward to playing this one. Those Entwistle X90s are going to sound soooo good!!

Thursday, 8 January 2015

James' Les Paul Jnr: All Finished

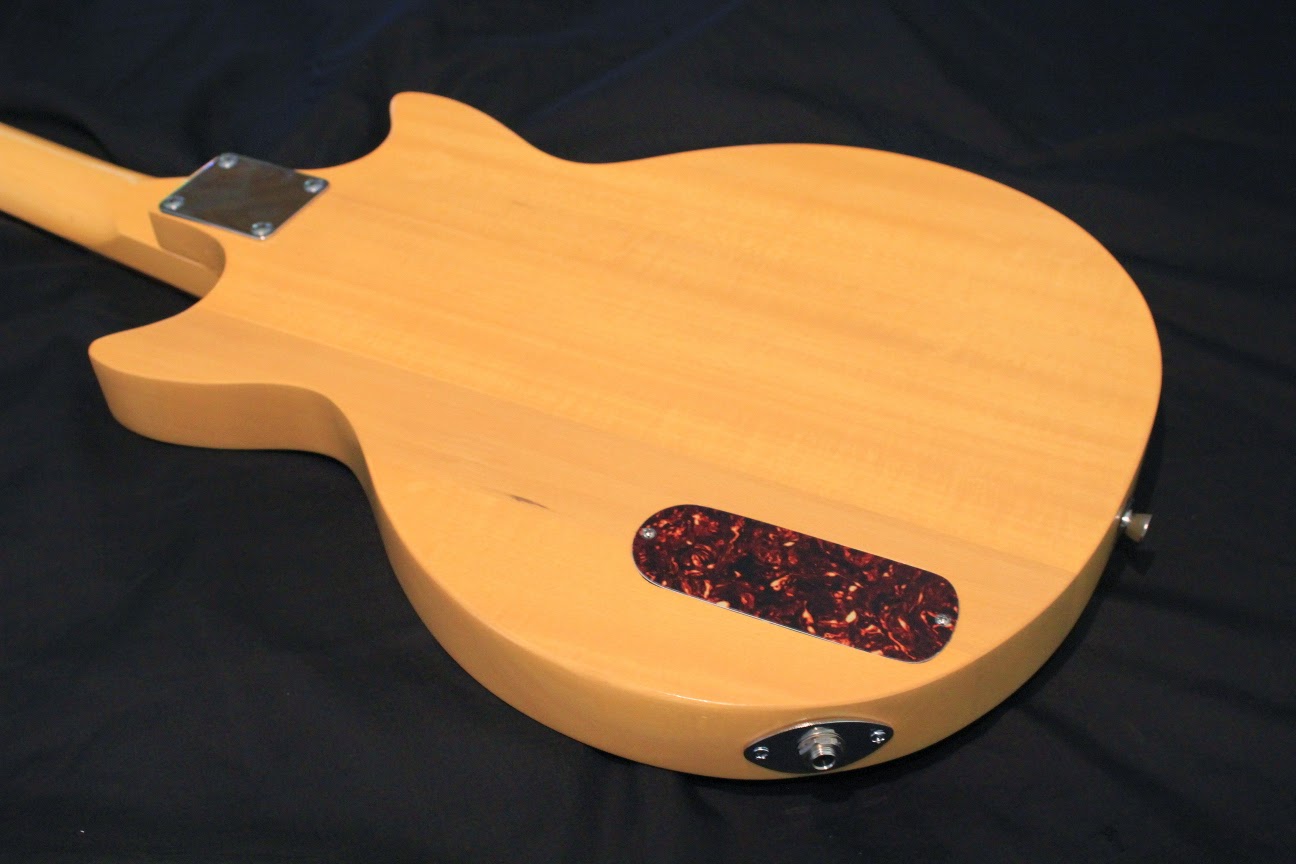
Well, James' Double Cut Les Paul Junior was finally completed today - it was a long push to get the wiring in, the frets levelled, and a new bone nut filed, but it's all done now! With the new nut, the action at the 1st fret is nice and low, but in the end the neck also needed a shim to allow the action to be as low as possble all the way down the neck. To create a shim, I used a piece of plastic milk bottle the width as the neck heel and half the length. It was a simple matter of cutting it out with scissors and pushing the neck screws through the plastic in place.

Now she plays beautifully, and the sound from the P90 is fantastic - despite being just the stock pickup fron the factory! I'm really loving the satin finish on this baby - thanks to the Butterscotch Wudtone. For my own DC Jnr, I applied a gloss finish with some wipe on poly over the top of the Wudtone, but I'm really liking this satin finish even more.


Just beautiful, if I do say so myself ;) ! I do love this model. Great look and killer sound all in a nice neat package with only a few working parts. Awesome. I'll be handing this one over to James in the next day or so. Hopefully I'll be able to get a sound demo out of him! Stay tuned for that.

Wednesday, 8 October 2014

James' Les Paul Jnr: Assembly Begins

Today I made some progress on James' Double Cut LP Junior build. With 3 weeks away from the man cave, the Butterscotch Wudtone on the neck and body has cured nicely. By default, Wudtone provides a nice 'satin' finish that can be burnished with some A4 printer paper to give it a little (only a little) shine. The overall effect is quite nice indeed. Most importantly, James is happy with the satin finish, so there's nothing more need be done. The headstock is still devoid of its decal, but that's still waiting on a delivery from Andy at City Signs and Print!

What I *was* able to achieve today consisted of some of the basic assembly tasks. I lubricated the neck screws with a little Dingotone Guitar Wax and got the neck screwed down tight. This was follwed by the installation of the bridge and a final check of the neck alignment using the two E strings. Everything looks good!


I'm not sure whether the neck will eventually need a shim or not. Currently the E strings are sitting just off the low frets. I would have prefered them to be sitting *on* the frets but we'll have to see how it goes. If a shim is required, then it won't need to be much.


With the E strings travelling up the neck, I was also able to get the P90 screwed into place, making sure that the pole pieces corresponded to the string position as much as possible. I think I got it placed pretty damn exact If I do say so myself.

Now I just need some more shielding tape and I can continue down the home straight with this one. That's gonna take a little while to arrive, so a few more days delay. I might tackle the scratchplate in the meantime. It needs to be heated and bent to correspond to the archtop body shape, and the screw holes need to be drilled before it can be finally mounted.

Monday, 10 February 2014

Les Paul Jnr Double Cut: Sound Demo

OK, so for those of you interested in how this little rocker sounds, I have done a quick sound demo. Please excuse the crap playing and the snare in the background. Unfortunately I forgot to turn the snare off before recording. The guitar is being played through a Fender Reverb amplifier with no additional pedals or effects other than those provided by the amp itself.


Remember, what you are hearing is the stock pickup straight from the Pitbull kit. I have added a bone nut, but apart from that the sustain and the tone comes from all stock parts. The majority of the demo is with the tone circuit bypassed completely so you are hearing the P90 in all it's glory. Although I added an orange-drop cap, most of the time it isn't even in the mix.

I gotta say, I love the way this baby sounds, and it really is a dream to play! That stock P90 really is a surprise. I really didn't expect the quality (and quantity!) of sound that this thing pumps out!

Friday, 10 January 2014

Les Paul Jnr Double Cut: It's Finished!

Well, the Les Paul Jnr Double Cut was finally finished today - Woohoo!! I am very happy with how this one came out. In terms of the wiring mods discussed previously in this blog, in the end I used only a single push-pull pot to bypass the tone circuit. The tone bypass is the default - you have to pull the tone pot up (out) to enable the tone. In the down position you get the full dynamic range of the P90 without any modifications.


Apart from the custom scratchplate & truss-rod cover, only a small number of further changes were made above and beyond the stock Pitbull kit. I added an Orange-drop tone cap to the aforementioned push-pull tone pot for the tone circuit, and added a switchcraft output jack with an oval base plate. Lastly, a pair of black speed knobs finished off the look.


I couldn't be happier with how she has turned out. Even though the tuners, bridge and P90 are all stock standard from the Pitbull kit, she plays very nicely indeed with plenty of grunt and oodles of sustain. I would still like to get a P90 from GFS for this bad boy when funds become available, but what's there now sounds amazingly good anyway (go figure!). With a bone nut and the action dialed in, she's low to the deck and silky smooth! Man, I can't put this baby down - especially with the distortion cranked way up! Heaven..

Wednesday, 1 January 2014

Les Paul Jnr Double Cut: Wiring for a Single Pickup

Looking at the wiring for the Les Paul Jnr, I came across this interesting schematic from the Guitar Wiring Blog which provides for multiple tone options from a single, single-coil source. The circuit uses two on-on switches to provide both a tone bypass function and the choice of 2 different capacitance values when the tone circuit is engaged.

Here's how it works. Firstly we start with a standard single-pickup circuit with a volume pot and tone circuit:


We then add two cutoff switches (both controlled from the same physical switch) to provide the ability to completely remove the tone circuit when required:


To this we then add a second switch that selects between 2 separate capacitor values when the tone circuit is active:


And there you have it. Cool huh? A big thanks to the Guitar Wiring Blog for this idea.

For me this is an especially great idea for the Jnr as it only has the single P90. I have two push-pull 500K pots waiting on my workbench for just such an application, and so this seems too good an opportunity to pass up! I really think this baby is going to sound great with the tone bypass engaged. Makes me wish I could afford a new P90 pickup for this baby as well (I've had my eye on the GFS Dogear P90 for a while now) but the boss has frozen all guitar upgrade funds for the time being. This said, I'm planning on wiring in a wire terminator so that I can swap out the pickup very easily in the future :).