Well the PRS is in the home straight now. I have gotten all the cavities shielded with copper shielding tape and soldered wires between them to make them electrically conductive. With the ground wire from the bridge post now soldered to the wall of the bridge pickup cavity, this means all my shielding will be nicely grounded. All I will need to do to ground the rest of the circuit come wiring time is to run a wire from the control cavity wall to the back of the tone pot. Simple, easy.

The GFS Surf-90s were next to be installed. I put a slight bend in the thin (but tough!) chrome humbucker rings using just my fingers, and it was enough to allow the screws to pull the corners of each surround all the way down to the body.
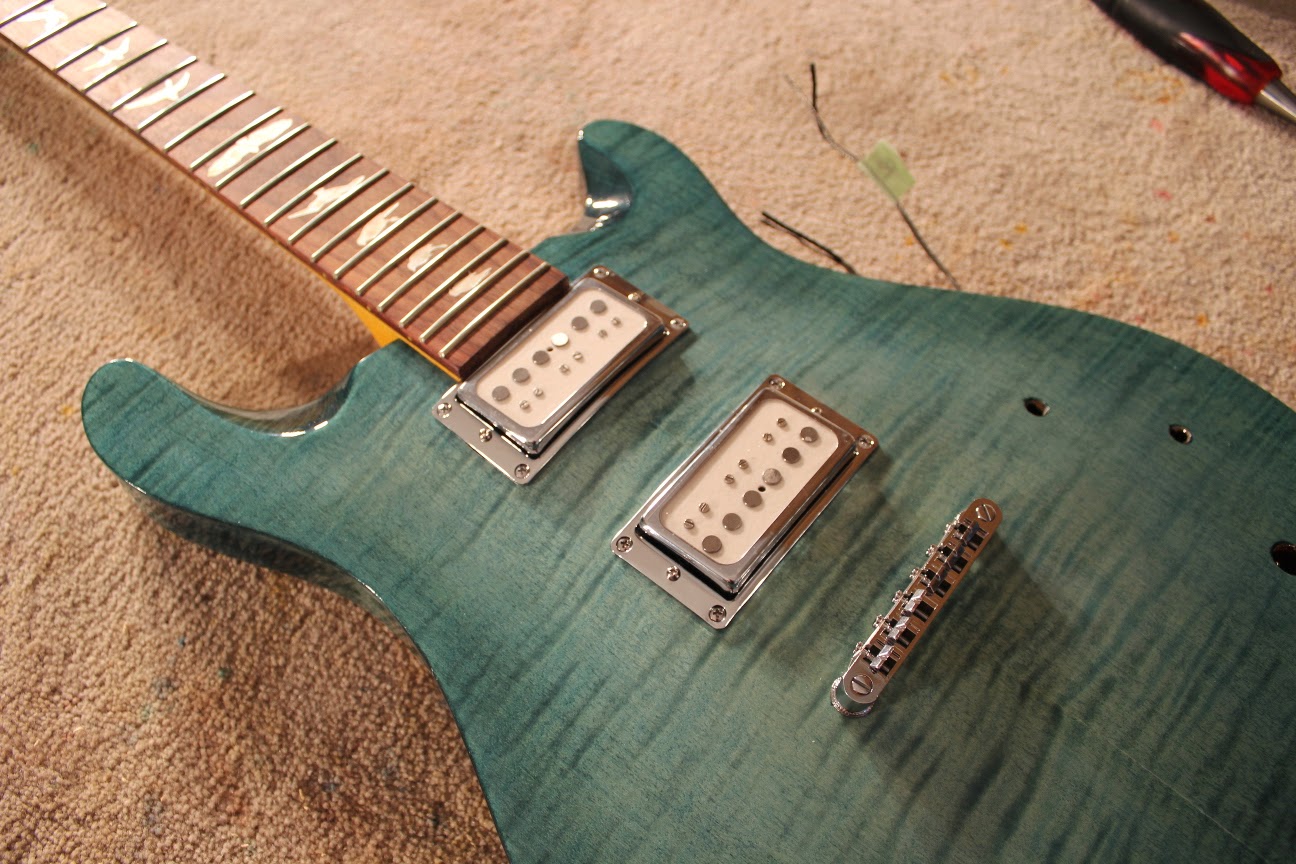
As usual, the wire conduit hole drilled from the bridge pickup into the control cavity was directly under one of the pickup mounting screws. When will kit manufacturers realise that the bottom right corner is the worst place for this conduit? I had a few stressful minutes wondering whether the pickup screw would break the wires from either the ground or the 2 humbuckers (it was getting pretty crowded in there), but a quick tap-test on the pickups after screwing down the surround seemed to suggest that everything is OK. Seems like I was able to keep the pickup wires more or less out of the way as the screw went in.

With the pickups in and the neck strung up, this baby is really starting to look like something special. I must say I wasn't that fond of the black headstock when I first did the paint job, but it really does suit ths body shape. In spite of the trapeze tailpiece (I do love a trapeze tailpiece!!) she is looking like a real shredder. With just a simple set-up I was able to achieve quite a comfortable and low action, so I can't wait to get the rest of the wiring in there and take her for a spin.
I'm waiting on CTS 500k pots and an orange drop cap before I can finish the wiring, but that should be here in the next day or so. Hopefully she'll be screaming by the end of the week!
The GFS Surf-90s were next to be installed. I put a slight bend in the thin (but tough!) chrome humbucker rings using just my fingers, and it was enough to allow the screws to pull the corners of each surround all the way down to the body.
As usual, the wire conduit hole drilled from the bridge pickup into the control cavity was directly under one of the pickup mounting screws. When will kit manufacturers realise that the bottom right corner is the worst place for this conduit? I had a few stressful minutes wondering whether the pickup screw would break the wires from either the ground or the 2 humbuckers (it was getting pretty crowded in there), but a quick tap-test on the pickups after screwing down the surround seemed to suggest that everything is OK. Seems like I was able to keep the pickup wires more or less out of the way as the screw went in.
With the pickups in and the neck strung up, this baby is really starting to look like something special. I must say I wasn't that fond of the black headstock when I first did the paint job, but it really does suit ths body shape. In spite of the trapeze tailpiece (I do love a trapeze tailpiece!!) she is looking like a real shredder. With just a simple set-up I was able to achieve quite a comfortable and low action, so I can't wait to get the rest of the wiring in there and take her for a spin.
I'm waiting on CTS 500k pots and an orange drop cap before I can finish the wiring, but that should be here in the next day or so. Hopefully she'll be screaming by the end of the week!


