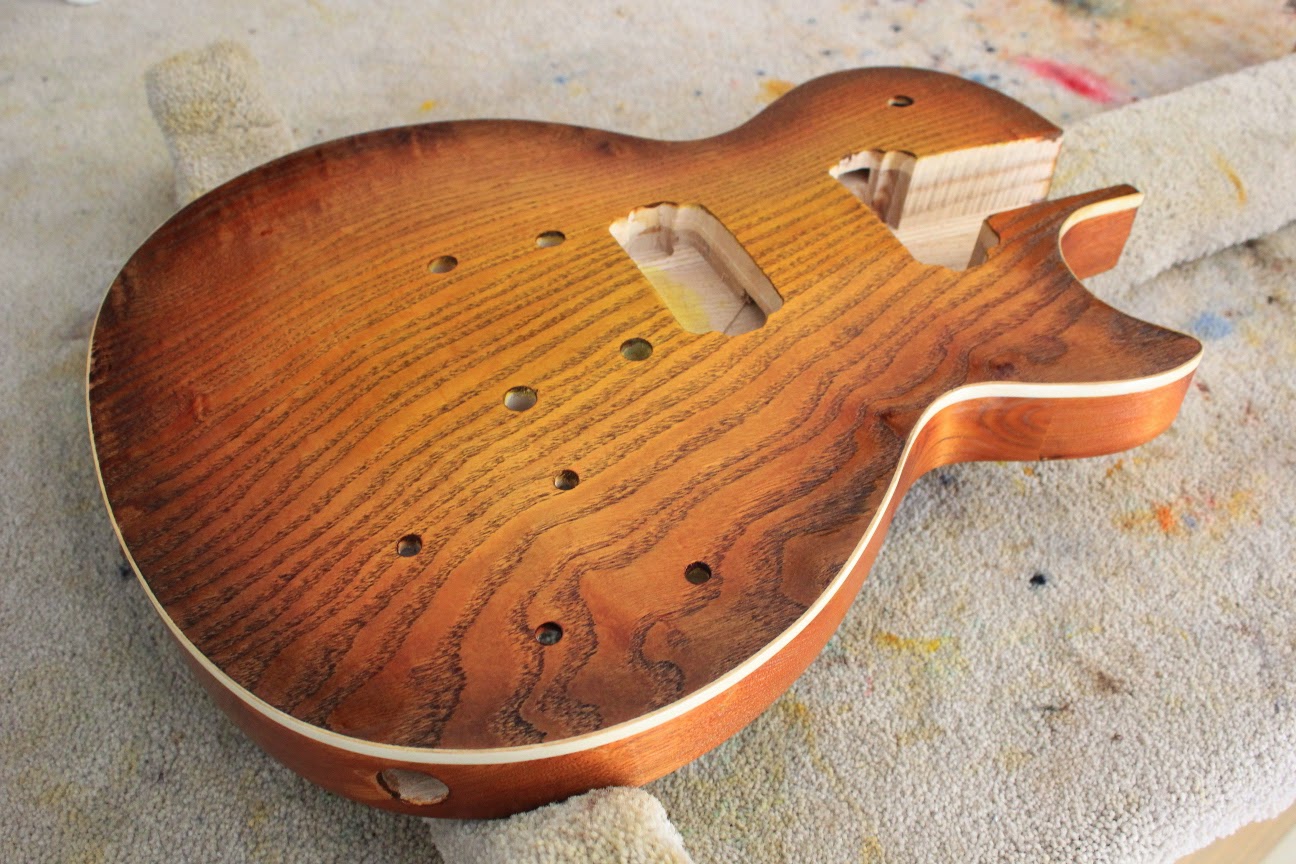
With the top burst looking pretty schmick, it was time to make a decision about a colour for the back and sides of the Ash Les Paul. With the grain already nice and dark thanks to the Walnut Timbermate, I opted for a medium shade of brown for the remainder of the body. I achieved it using an initial few coats of Vintage Amber Colortone dye, and then following this up with a few more coats of Red Mahogany (while the original dye was still wet). I've used this mix before on my
335 Semi-Hollow Bass build and I really like it - especially with the darker grain peeping through. It's warm, and it glows - without being too amber, too red or too middle of the road.
With the back dyed, it was time to move on to the Tru-Oil. After leaving the dye some hours to dry completely, I managed to get a good soak coat of oil over the entire body before the day was done - man, this Ash body just drank the oil up! I'm always amazed just how fantastic wood looks when that first coat of Tru-Oil is on and still wet - the grain just jumps out at you. The ash grain on this top looks especially dark and wonderful now that the Tru-Oil is soaking in, almost like it's been burned. I really, really like the effect! As of this moment - now 2 days on - I have 3 coats of Tru-Oil on the top, back and sides, and the wood is finally starting to reach saturation point (it's looking a little glossy).
 |
| Third coat of Tru-Oil on the top. It's still wet in this photo. |
|
|
|
 |
| Third coat of Tru-Oil on the back and sides. It's still wet in this photo. |
 |
Shows how nice the Ash grain is looking with the Timbermate filling combined
with Tru-Oil. Timbermate hasn't filled the grain smooth but I like it much better
this way. You can still see the grain texture. |
So now it's a matter of applying coat after thin coat of Tru-Oil until the body is shiny. While that's happening, I'll be getting on to the headstock shaping and prepping the neck for dying and oiling as well. She's coming along nicely!


No comments:
Post a Comment