Showing posts with label LPA-1. Show all posts

Tuesday, 20 January 2015

Ash Les Paul: Sound Demo

Finally got a sound demo done of this beast in action. Unfortunately, it's me playing again, so no virtuoso performance ;). You'll just have to put up with it I'm afraid! The guitar is being played through a Fender Deluxe 112 amplifier with a Joyo Crunch Distortion pedal. It's feeding back to the bullshit, but hey - I like it! The song is "Mother" by Danzig - one of my favourite songs to play. Easy enough for me to get my fingers around (mostly) if you stay with the rhythm.


I'm certainly no great player, but I gotta say, I love the way this baby sounds. The Entwistle HDN pickups just scream - it's the hottest guitar I've ever owned in terms of sheer output. It was hard to sync up the original backing track with my playing so it's a little off. But hey, you get the picture. Let the flaming begin!!

Thursday, 15 January 2015

Ash Les Paul: Looks Great, Sounds Even Better

Well, my rock beast is finally complete! This morning I filed a new bone nut and got the action at the 1st fret as close to perfect as I dared to go. Whether or not I could have gone down any further, playing open chords now feels oh-so-sweet! With the nut sorted, I focused next on the bridge height and brought it down until just before the height where the strings started to buzz. There's still the slightest amount of buzz on the E and A strings, but it helps playability so much and its not enough to come through to the amp. All along the neck, the strings are now nice and low on the fretboard and she feels really, really wonderful to play!

With the action sorted, on went the truss rod cover and that was the entire build completed. What do you guys out there in inter-web land think? Compared to my Epiphone Les Paul Standard that I've had for 20 years, she doesn't even compare in look or in playability. Colortone dye + Tru-Oil really is a simple and effective means to obtain a professional looking finish cheaply and easily! I recommend anyone out there thinking about finishing their own guitar to give this combo a try.


I really love the ash veneer on this Pitbull kit. Filling the ash grain with Walnut Timbermate was definitely the right decision - especially with the Tobacco burst over the top. It has really popped the grain beautifully and helps to spread the dark tobacco theme out over the entire top. The dark filled grain even makes the wood look a little scorched don't you think? Maybe it's just me ;) .


How about those Entwistle zebra pickups - they just scream ROCK! It makes this LP look a bit like the Slash signature model from Gibson. You can't get more rock than that!

In terms of the headstock, I really like the way the burst headstock complements the body so well. When I first did the headstock I had serious doubts that it was good enough, but now I wouldn't change a thing.


The grain on the sides and rear of the body also looks great with the Walnut Timbermate fill. It has come up a little like Mahogany in that respect. It's really allowed what figure there was in the body pieces to come to the fore, even though there wasn't much there to begin with.


The Entwistle HDN pickups are the hotest pickup I've ever heard. I've been playing the guitar all day, and I've found that for my playing style the sweet spot volume-wise is about 7 on both the knobs. I've never needed to adjust the volume on a guitar before! When the volume is at 10, the guitar really drives the amp - the neck pickup especially. If I could squeal lead notes, then this baby would be on fire. Even better, lifting the volume knobs performs a coil tap on each pickup, modifying the sound of the guitar to give that more hollow single-coil sound. Just another awesome aspect to these amazing pickups.

All in all this LPA-1 is an amazing kit from Pitbull Guitars (Build Your Own Guitars), and I think I've done it justice. The set neck went on perfectly without issue or shim, and the resulting neck height is exactly matched to the height of the tune-o-matic bridge. For a perfect action, the bridge is raised about 2mm from it's lowest setting. No shim, and no bridge sticking out off the body. The end result of all my ministrations looks amazing (in my humble opinion) and is a real pleasure to play.

I'll try to get a sound demo recorded in the coming days - just as soon as I learn a song that will do this baby justice!

Tuesday, 13 January 2015

Ash Les Paul: All Wired Up!

Well it's been a hectic couple of days, but the Ash Les Paul is almost ready to rock. Once the neck glue was dry (I gave it 24 hours), I set about shielding the cavities and wiring the electronics on a cardboard template. The shielding was grounded (pickup cavities and control cavity) and in no time at all the pickups were installed.

The electronics were wired using the "Vintage" Les Paul wiring model. You can see a diagram of this below. The difference between Vintage and so-called Modern wiring is that the Vintage circuit connects the tone capacitor to the output of the volume pot (ie. the middle lug) rather than the input (the outside lug).
Vintage Wiring - Diagram Copyright guitar-mod.com

In simple terms this means that the low pass filter is only applied the signal that the volume pot lets through rather than being applied to the entire (raw) signal. The benefits of this approach are hotly debated in forums across the inter-web, but anecdotally it is said to give a brighter response when dialing down the volume. Whatever. I just like anything with "Vintage" in the title :) .

With the wiring done, I cut some circles of milk bottle plastic to sit under the pots (it stops the pot lugs from inadvertently shorting out) and then installed them. The shielded control covers followed shortly, and a tap test confirmed that everything was working as expected. In addition to the wiring shown in the diagram I also used push pull pots for volume, allowing me to coil tap both the neck and bridge humbuckers. When the volume knobs are pulled out, single coils it is!

With everything in and working, I strung her up for a first test of the Entwistle HDN pickups. I reckon she looks magnificent!

A guitar at last. The burst and zebra pickups look killer!
I'm really digging my burst headstock now.
With the burst and the zebra pickups, this is one mean rock beast. At least in my opinion. Something Slash might find himself holding ;). A first test of the HDNs showed that these are indeeed hot, hot pickups. Even on the clean channel they all but melted my face. For the first time ever I found myself diving for the guitar's volume control! Really a wonderful (powerful!) sound. I have only to file a new bone nut for this beasty and I'll be able to take her for a proper sound test. Stay tuned for some very badly strummed tunes on a very loud, very rock-worthy axe! Guffaw...

Thursday, 8 January 2015

Ash Les Paul: Setting the Neck

Today I got back to the Ash Les Paul. I was able to level, re-crown and polish the frets for a sexy look and a super-smooth action! I've previously waited until after the neck was attached to do the frets, and on the whole my experiences have been mixed. Previously I have found it hard to re-crown frets on the bridge end of the neck for some models when the fretboard is close to the body. I decided to try leveling and re-crowning the frets before gluing this time. The frets turned out ok, but trying to hold on to the neck whilst sanding and filing was a bit of a bitch. I guess I need a couple of vices here on the work-bench!

Anyway, with the frets done, I carried on immediately and glued the neck. Fingers crossed that I did everything correctly! It all looks great - the E strings run nice and straight up the neck and are sitting almost on the top of the 22nd fret. Should make for a nice low action! However, in the back of my mind I couldn't shake a little voice telling me that I didn't use enough glue. I had all the surfaces covered, but there wasn't much squeeze out. But that's a good thing right?? Oh well, time will tell!

Titebond and a clamp does a set-neck make!
The whole shebang. She's looking the goods!
E strings sitting nice and straight up the neck and almost resting on the 22nd fret.
I'm very excited about getting this little baby completed, and she's actually starting to look like something now! Next step is to get the control cavity shielded and to solder on the ground wire. I don't think I'll shield the pickup cavities this time around as I've read comments out there on the inter-web saying that shielding here cuts the highs from the signal? Am I right in thinking this? Let me know your opinions out there!

Once the clamp comes off the neck, I'll be waxing the fretboard with Dingotone guitar wax and then starting on the electronics. Stay tuned!

Wednesday, 31 December 2014

Ash Les Paul: Neck Colour

In the last week or so I have been patiently working away at the neck and headstock of the Ash Les Paul build. Firstly I sanded it down to 400 grit and then coloured it with Colortone dyes. I attempted a burst on the headstock similar to the ash veneer, and tried to get the neck colour as close as possible to the solid ash body. In the end, the headstock burst came out *ok* (it's growing on me), whilst the neck colour is quite a bit darker than the body.

Headstock with an Amber/Red Mahogany/Tobacco burst and 5 coats of
Tru-Oil. There's some oil overrun to fix up on the right edge.
The neck has been coloured with Amber/Red Mahogany and
5 coats of Tru-Oil.

All in all I'm reasonably happy with the results. I would have been happier if the neck wasn't quite as dark as it is, but when you see it against the body it doesn't look too bad. Just goes to show you what an in-exact science this dying stuff is. In truth, I really should have dyed the neck and body at the same time to guarantee as close to the same colour as possible. With the different woods (Ash vs Rock Maple) there is always going to be somewhat of a difference in colour at the end of it all, so I'm not too precious about it. All in all, I'm pretty happy with the results when you see the two pieces together.

The bursts on the headstock and body complement each other.
The darker neck colour still works well with the lighter ash body colour.
After only 5 coats of Tru-Oil on the headstock I was still toying with the idea of spraying it black. But the burst is growing on me and I think that in the end it compliments the look of the burst Ash veneer. It's just a matter of applying a few more coats of Tru-Oil to the neck, wet sanding down to 1200 as I go, and the finished neck will be ready for gluing. I'm waiting on some new cream pickup rings and electronics upgrades from Realtone, so once they arrive I'll be able to see how this axe is really going to look assembled. I'm pretty excited about how she's gonna look, and can't wait to chug out some thumping rock rhythms. Fun times ahead!

Tuesday, 23 December 2014

Ash Les Paul: Entwhistle HDN Neodymium Pickups

Today I received a pair of Entwistle HDN Zebra Pickups for my Ash Les Paul project from Pitbull Guitars. The HDNs, which utilise Neodymium magnets, promise an "ultra hot" response giving note definition, crunch and tone that's perfect for rock and metal. Mmmm metal..


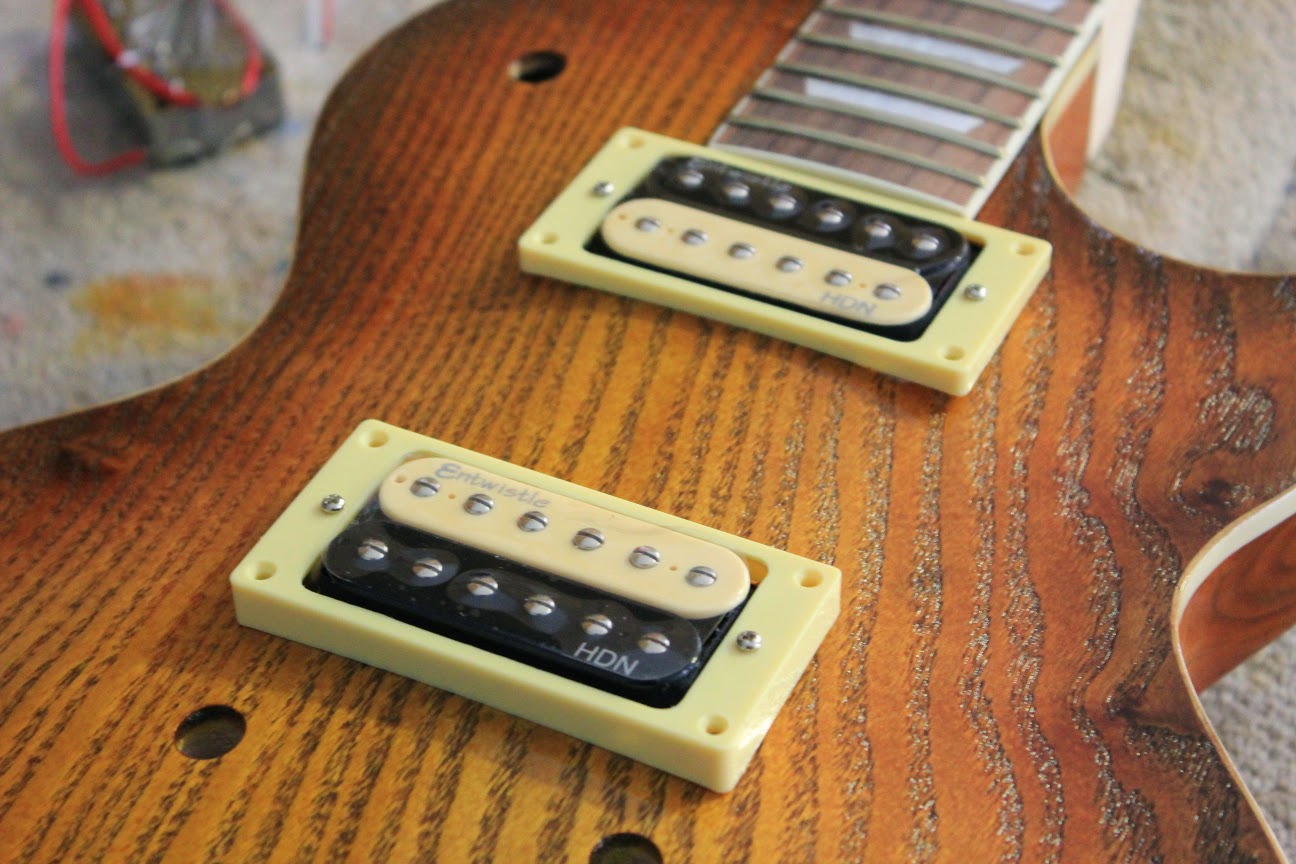
Initially, I had planned to use the original cream humbucker rings that came with the kit to mount these new zebra pickups. Here's how the stock chrome humbuckers look with these cream rings and the 10-coats of Tru-Oil that's currently on the body...


And now with the zebra HDNs in the same cream pickup rings. What do you think? Do the zebra's look better or worse? They certainly look more "rock" to my eyes - and that's a good thing!


The only question now is the pickup rings themselves. To be honest, I'm not sure that I'm really sold on them anymore. The cream in the rings is a little more "yellow" than the zebra cream (Mmmm zebra cream), and this lends them a more plastic, cheaper look. I'm thinking that either black or chrome rings may look better in this situation, or maybe I should just buy some AllParts Cream Rings to replace them? What's the consensus on there on the interweb?

Saturday, 20 December 2014

Ash Les Paul: Shaping the Headstock

I finally got the headstock shaped this morning, and that marks the end to the woodworking for this build - phew! As usual, I used the LP headstock template from here:


Also as usual, it didn't quite fit the blank, but I just shifted it up until the sides of the blank and the sides of the template met at the top most point.


A bit or work with the jigsaw, the bastard file and slapwheel and she was finished. It took all of 15 minutes. I'm reasonably happy with the results - it's one of my better attempts with this template.


I'm considering a gloss black headstock for this build, with the neck stained the same colour as the back and sides of the body. It would be very similar to my PRS neck finish, whcih I ended up liking a lot. To be honest though, I'm still not sure. I may end up trying to dye the headstck at the same time as the neck.

Wednesday, 17 December 2014

Ash Les Paul: More Dying and 3 Coats of Tru-Oil

With the top burst looking pretty schmick, it was time to make a decision about a colour for the back and sides of the Ash Les Paul. With the grain already nice and dark thanks to the Walnut Timbermate, I opted for a medium shade of brown for the remainder of the body. I achieved it using an initial few coats of Vintage Amber Colortone dye, and then following this up with a few more coats of Red Mahogany (while the original dye was still wet). I've used this mix before on my 335 Semi-Hollow Bass build and I really like it - especially with the darker grain peeping through. It's warm, and it glows - without being too amber, too red or too middle of the road.


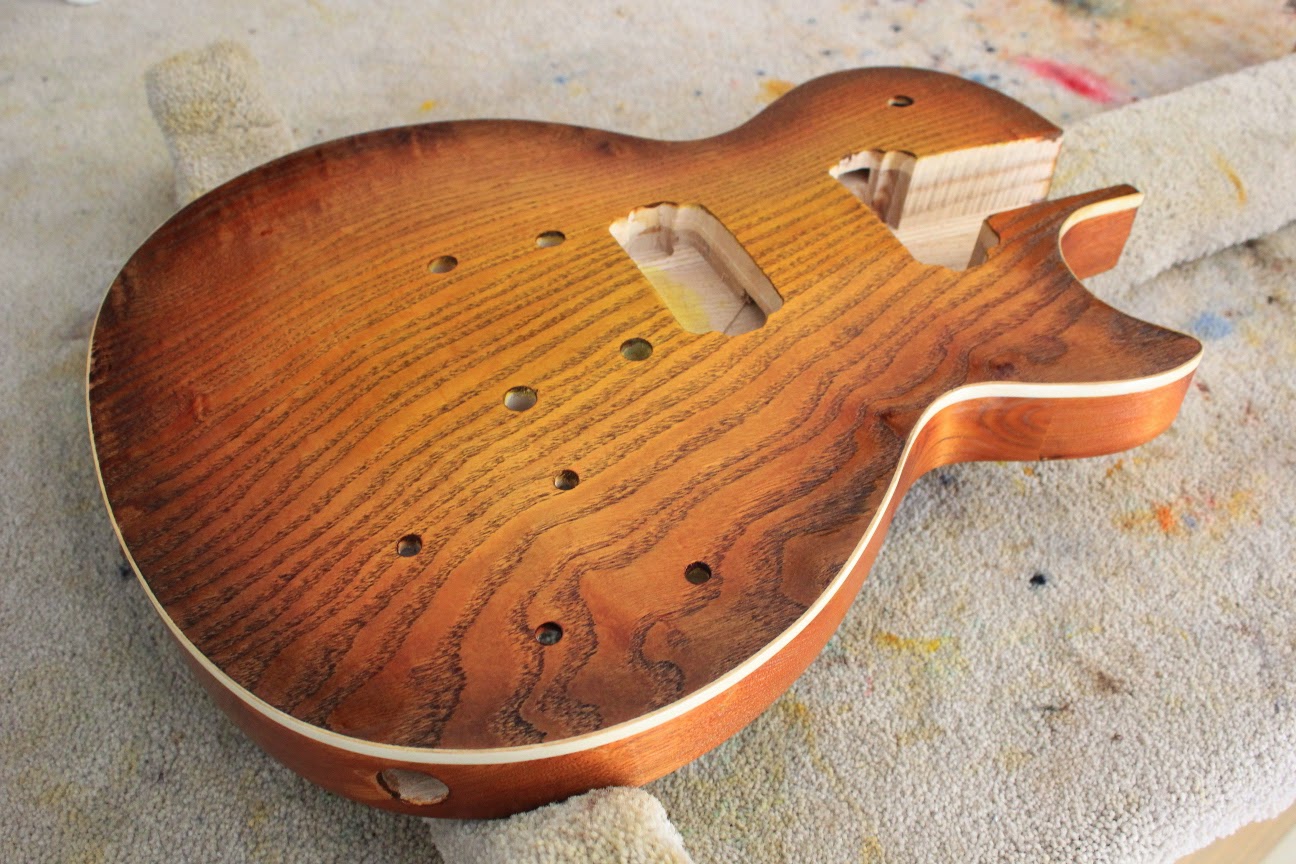
With the back dyed, it was time to move on to the Tru-Oil. After leaving the dye some hours to dry completely,  I managed to get a good soak coat of oil over the entire body before the day was done - man, this Ash body just drank the oil up! I'm always amazed just how fantastic wood looks when that first coat of Tru-Oil is on and still wet - the grain just jumps out at you. The ash grain on this top looks especially dark and wonderful now that the Tru-Oil is soaking in, almost like it's been burned. I really, really like the effect! As of this moment - now 2 days on - I have 3 coats of Tru-Oil on the top, back and sides, and the wood is finally starting to reach saturation point (it's looking a little glossy).

Third coat of Tru-Oil on the top. It's still wet in this photo.


Third coat of Tru-Oil on the back and sides. It's still wet in this photo.
Shows how nice the Ash grain is looking with the Timbermate filling combined
with Tru-Oil. Timbermate hasn't filled the grain smooth but I like it much better
this way. You can still see the grain texture.

So now it's a matter of applying coat after thin coat of Tru-Oil until the body is shiny. While that's happening, I'll be getting on to the headstock shaping and prepping the neck for dying and oiling as well. She's coming along nicely!

Monday, 15 December 2014

Ash Les Paul: Grain Filling and Dying a Burst

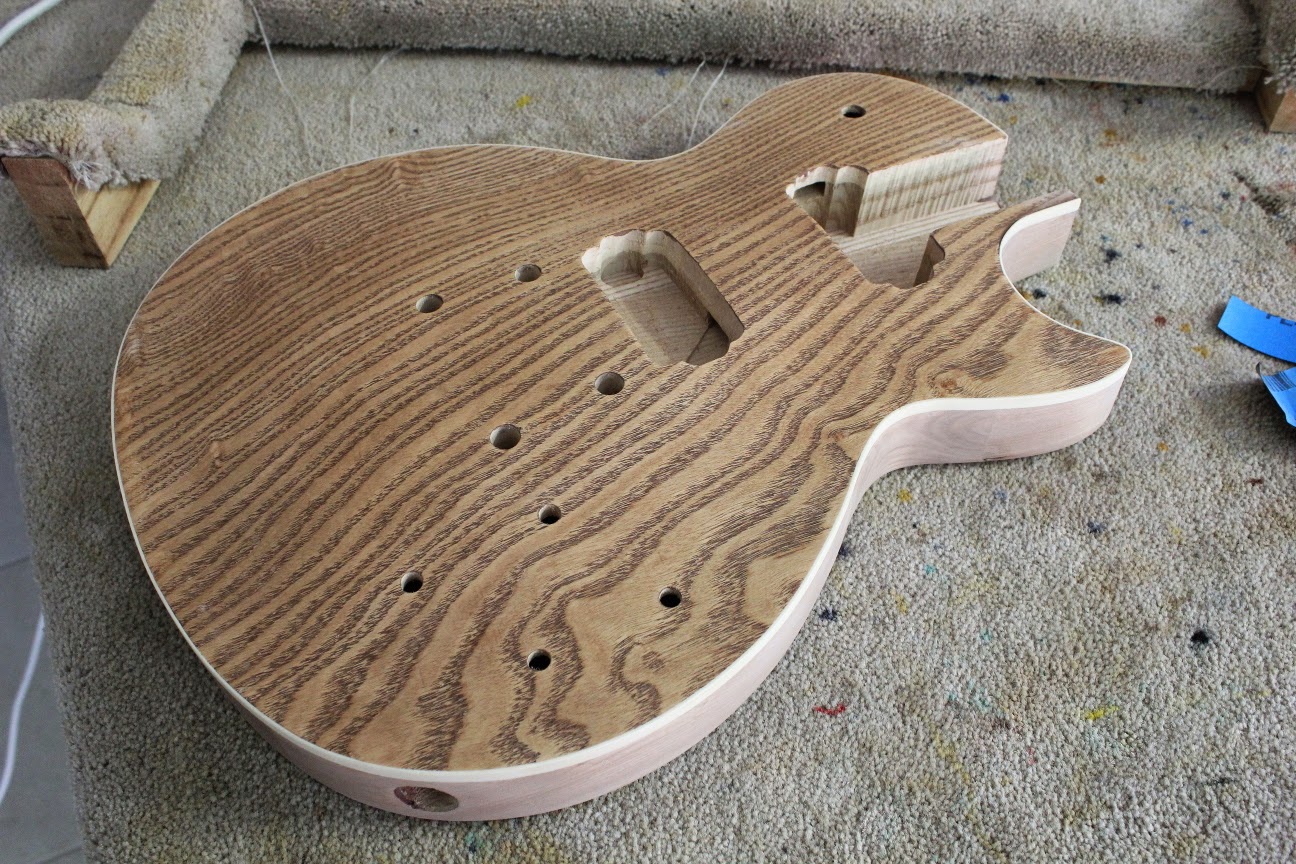
After many silly-season distractions, I managed to get some more work done on the Ash LP build today. I sanded the body with 240 and 360 grit sandpaper before grain filling both the veneer and the back/sides with a slurry of Walnut Timbermate. The Timbermate was then sanded back with 400 grit until just the filled pores remained. The walnut has certainly popped the ash grain nicely indeed! After a couple of rounds of grain raising with a little water, and then cutting back with 400 grit, the body was finally super smooth and ready for dye.

Grain filled with Walnut Timbermate and sanded back with 400.
Some water brings out the colour and allows the grains to raise.

Timbermate and grains raised on the back and sides also.

Since contemplating the sand-storm colour scheme, I've had serious second thoughts (mainly centred around my lack of skills to adequately perform the dye job) and I've reverted to a very simple burst for this build. Time for the colour to go on!

I started with Yellow Colortone as the base colour and progressed through 3 more colours - Vintage Amber, Red Mahogany and Tobacco Brown - to arrive at a burst I was happy with.

The base colour - Colortone Yellow over the grain filled Ash.
A very subtle burst with Amber Colortone to start the fade.
Red Mahogany Colortone next to continue and darken the fade.
Quite a nice "Honey Burst" at this stage.
Finally the Tobacco Brown Colortone to darken the edges,
and complete the burst.

All in all I'm extremely happy with the results. I think I'll go over the burst again tomorrow with a little more colour to try and soften the colour boundaries even more, but even as it stands, it's still looking pretty damn good! I'll have to make a video of my burst technique one of these days just in case anyone out there is interested.

The next step for this build is to decide on a stain colour for the back and sides. I want a colour that will compliment the burst top and yet not take the eye away from it. Something pretty neutral, but still with some style. Maybe some red mahogany and amber mix, but I'm still contenplating that one.

Tuesday, 9 December 2014

Ash Les Paul: Unboxing & Mockup

Today I started a new project - an awesome Ash Les Paul. It's a Pitbull Guitars LPA-1 kit and she looks a beaut! I've never built an LP before, and this looks to be a great starting point :). Right out of the box the kit looks great with a solid ash body and a one-piece ash veneer on the top. Both the top and the body display some really nice figure, and I can't wait to get some stain on it! 


As for the neck, the neck pocket fit is spot on with no gap on either side to be seen. The heel fits nice and snug in the pocket, and on the lower side the fretboard is sitting right down on the body. I'm very happy with the fit indeed.


In the past I've had mixed success with set neck builds. This has been mainly due to my own impatience, but I'm really hoping that this project will meet the high standard I set with my Solidbody PRS build. 

While the neck fit is perfect, the body does exhibit a couple of annoying glue spots under the binding, and there are quite severe machining marks all around the outside.


Nothing for it but to keep sanding away with 240 grit until all the machining marks are gone. I do hope there's some binding left when I'm finished! After sanding the body I'll hit the glue spots with a little stain to see if I need to get the wire brushes out. The fretboard also has some annoying little glue patches where it has obviously been filled. I guess I'll have to get a bit of fine wet and dry on to these as well.


Anyway, glue spots and machining marks not withstanding, I got the kit together for a mock build in next to no time. With the neck straight in the pocket, the bridge and stop-bar posts have been positioned correctly (phew) and the E strings travel straight up the fretboard. At it's lowest bridge height, the strings are on the deck at the 22nd fret so all in all she's looking pretty good for a straightforward assembly!


Before finishing starts in earnest, I am seriously considering routing a third "middle" humbucker cavity between the two existing cavities. I'm not sure what real use a middle humbucker would be "sonically", but I've always loved the look of 3-pickup LPs. On the other hand, since this is my first ever LP build, I might just keep it simple for now.

I'm also considering quite a radical dye job. I thought that something like the PRS "sandstorm" fade might look really great on this grain pattern. Something like this:


What do you think? Do you think it looks the business, or would I be better served with a simple honey burst?