Got the TOM-bridge installed today with a little help from the Stewmac fret position calculator.
I measured the scale length (2x distance from nut to middle of 12th
fret) as 626mm - the same as every other kit I've ever put together. With 22 frets, Stewmac calculated the position of the treble and bass bridge posts at 627.5mm and 629.5mm from the nut respectively.

With these measurements in hand, it was a simple case of seating the bridge, finding its lateral position across the guitar with each post centred at these distances from the nut and checking the alignment of the E strings down the neck.
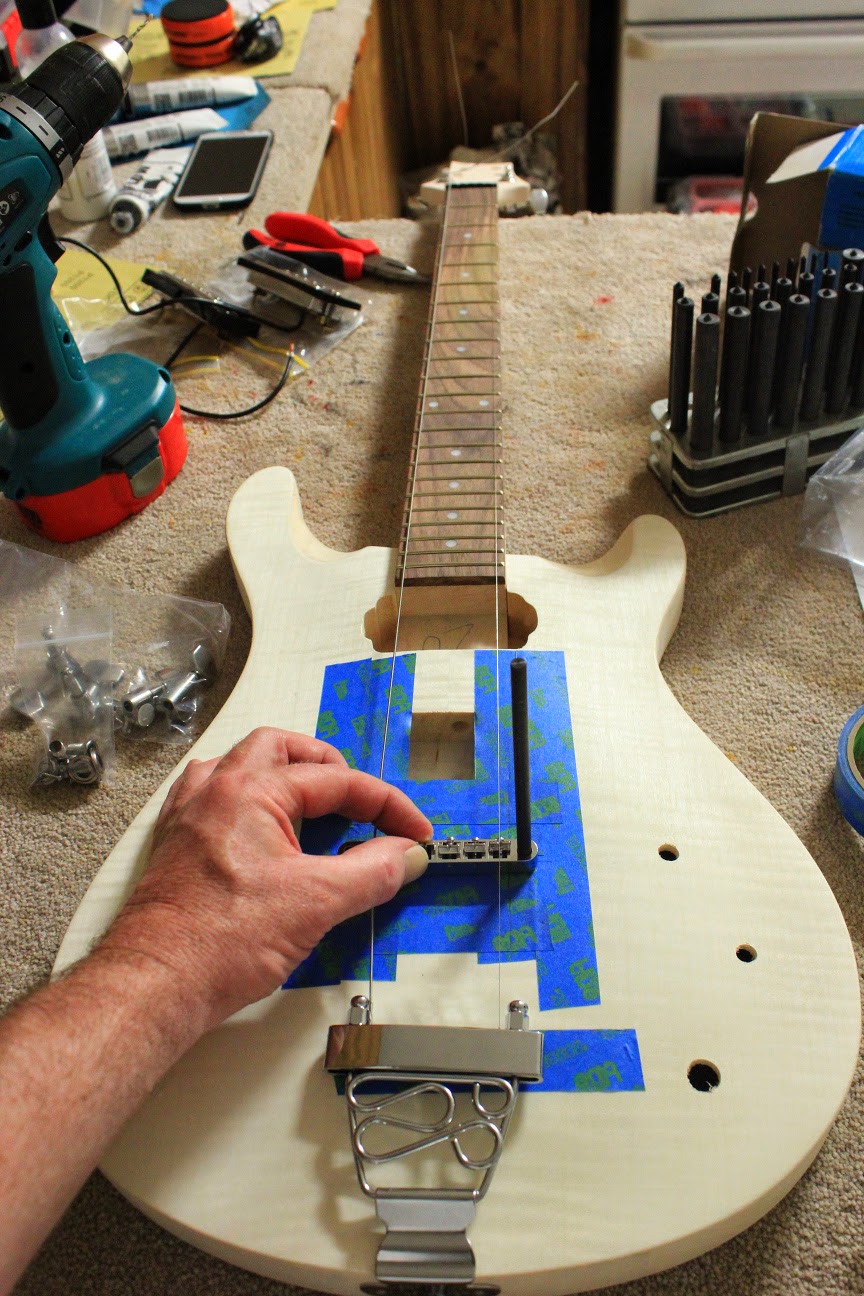
Using a transfer punch to mark the location of each post and a brad-point drill bit to drill the hole, the post holes were quickly drilled and the posts hammered home. One final test of string alignment and all was complete!

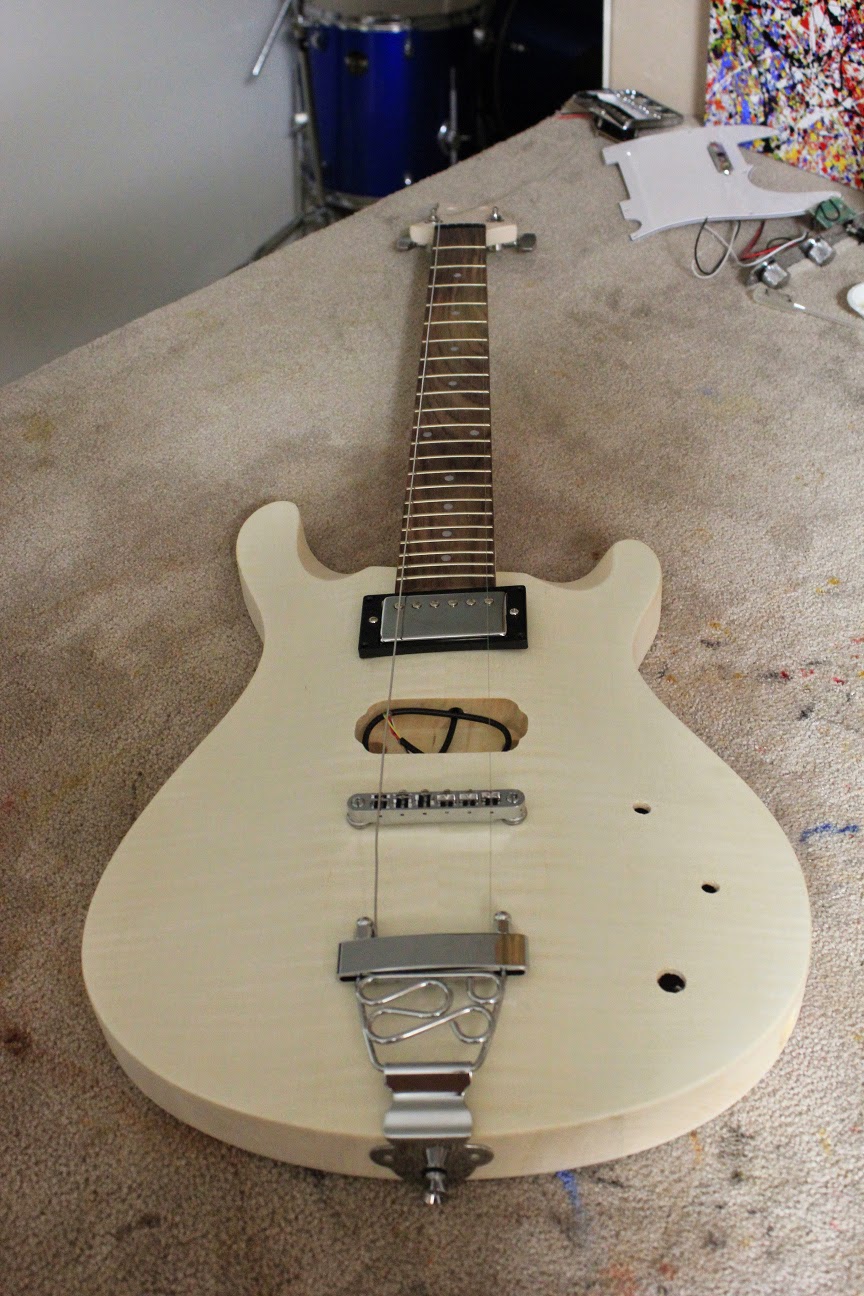
I've decided to go with a short trapeze tailpiece with the swirly-swirly design on it. I had a short and a long one with this same design lying around. I would have liked to use the long one (I really think the long tailpieces look better) but the top of the trapeze was just a smidge too close to the bridge's final position for my liking.
With the last of my wood-working complete, I'm now free to concentrate on the finish. First a round of sanding - down to about 600 grit, taking care not to sand through the maple cap. I think I'll do a trace dye at 360 grit to check for glue spots and to pop the flame maple figure.
With these measurements in hand, it was a simple case of seating the bridge, finding its lateral position across the guitar with each post centred at these distances from the nut and checking the alignment of the E strings down the neck.
Using a transfer punch to mark the location of each post and a brad-point drill bit to drill the hole, the post holes were quickly drilled and the posts hammered home. One final test of string alignment and all was complete!
I've decided to go with a short trapeze tailpiece with the swirly-swirly design on it. I had a short and a long one with this same design lying around. I would have liked to use the long one (I really think the long tailpieces look better) but the top of the trapeze was just a smidge too close to the bridge's final position for my liking.
With the last of my wood-working complete, I'm now free to concentrate on the finish. First a round of sanding - down to about 600 grit, taking care not to sand through the maple cap. I think I'll do a trace dye at 360 grit to check for glue spots and to pop the flame maple figure.
No comments:
Post a Comment