Showing posts with label 12 String Telecaster. Show all posts

Wednesday, 30 November 2016

12 String Telecaster - Jangles a Go-Go

Well, she's been finished for a month or two now, but today I finally had time to take some photos of my trans-black 12-string Telecaster.. I reckon she looks amazing! I've always had a thing for black and white Telecasters, and for a 12-string she is surprisingly comfortable to play.

Now admittedly I'm not the best guitar player that ever lived (far from it) and the 12-string is a challenge to play compared to the traditional 6, but god I love picking this bad boy up. Thanks to a nut height that needed no adjusting and a super straight neck, the action is low and very little finger pressure is needed to fret the strings. It's just so comfortable that even I can bust out a tune with just a little extra practice.


Already some scuffs on the back - tough love!

Despite taking half a day to get in tune, once the neck settled down the tuning stability is really quite good. Some locking mini-tuners would make this even better, but I can live with it for now. Some of the strings do need a little tuning tweak now and again and that's ok (as I said, for now). Unfortunately, just checking each and every each string with the electronic tuner is a major undertaking ;).


Trans-black flame maple with a deep Acrylic gloss.
The guitar's single coils deliver a beautiful jangly tone, especially with a clean channel. Open chords are especially nice and the sustain (even accounting for my bad finger placement) is great. Time to channel Marty Wilson Piper and belt out a few tunes by The Church.

Tune me please. Please?

All in all a very satisfying build and a great end result. I can't stop picking this thing up and strumming it. DIYGuitars did a good job with the kit, especially the dialed in nut height and I'm really impressed with the kit quality. I highly recommend you all to get out there and build your own 12 string Telecaster. There aren't many of them out in the wild (compared to other models) and that makes it all the more satisfying to own one.

Saturday, 2 April 2016

12 String Telecaster - Polishing and Pickguard

Finally got some time to spend in the man cave today, and that meant getting some work done on the 12 string Telecaster. In terms of the body work, the finishing was almost complete. All I needed to do was apply some elbow grease to polish up the acrylic clear coats. As per usual, I got going with the 1500 grit wet sanding to level off the surface and then straight on to the 2000 grit to remove all the scratches. It was then on to the Meguiars Ultimate Compound to really bring the shine. It took two applications of Meguiars to remove all the cloudy areas left over from the wet sanding, but in the end - with arms burning - a really satisfying shine was achieved.

Polishing finally complete and time for the hardware.
With polishing done I played around with some hardware configurations to see what I really liked. While it's a real shame to hide this nice flame maple cap under  pickguard, I've always loved the classic black Telecaster look. Even though the body has come up so nicely I think I will still go with the plain white pickguard.

No pickguard. I would probably use a chrome humbucker mount.
White pickguard on black. Looking classy me thinks.
What do you guys out on the interwebs think? Am I crazy?? Well maybe. But I'm pretty happy with the combo of black body yellow fretboard and white pickguard. Can't wait to see this all put together.

Sunday, 3 January 2016

12 String Telecaster - Clear Coats

After 3 days worth of clear coats with White Knight gloss acrylic (3 coats per day), the 12 String Telecaster was ready for a couple of weeks hanging over the Christmas period. Now with its builder sporting a rather rotund post-holiday visage, the acrylic has cured sufficiently (just a slight lingering smell) to allow the clear to be flattened with 600 grit. With the orange peel removed and the surface brought down to an even matt finish, I was able to spray the final 3 coats of clear.

Acrylic levelled with 600 grit an final coats applied.
Time now to let this baby hang for a month or so to let the clear coats fully cure. It will then be time for the final cut and polish. In the meantime, I have to get started on the neck finish. I still have to get some 400 grit paper to finish the sanding, then a grain fill, amber dye job and copious layers of Tru-Oil.

With hindsight, I'm not sure that the choice of a trans-black finish was the best for this build. I think that in the end the dye job was too heavy and that the flame maple figure is lost in all that black. I definitely applied too many dye coats, and I should have stopped when the body was more of a "grey" tint with the flames standing out. Oh well, lesson learned. It's still gonna be a nice black Tele.

Thursday, 31 December 2015

12 String Telecaster: Shaping the Headstock

Finally a few hours back in the man cave today after a mad Christmas and New Year season. With only a little time at my disposal I was at least able to shape the headstock on the 12-String Telecaster build and get most of the sanding done.

With the headstock chock full of tuning pegs, the kit didn't leave too much space for anything fancy in terms of shaping. I finally opted to just round off the corners to create a Fender-esque curve to the top. With a little trial and error I found that the small Timbermate container provided the perfect radius. Out came the pencil and it was quickly traced to create the corners.

The small Timbermate container has a perfect radius.
Curve drawn and ready for the jigsaw.
With the line drawn, out came the trusty jigsaw and I cut just outside my line. Unfortunately the blade on the jigsaw was a little coarse for the rock maple and some small pieces were gouged out of the edge of the cut. Wouldn't you know, they were out of the front side of the headstock not the back. Lesson learned - always draw your line and cut from the front size of the headstock. I grabbed the disc sander to bring the curve down to my line. A nice job apart from the gouges.

Jigsaw cut complete and tidied up with the disc sander.
Gouges in the front edge of the headstock, care of the poor jigsaw skills.
With the shape cut it was then on to sanding. I started with 80 grit on the top (cut) edge to remove the burn marks created by the disc sander. The 80 grit really made light work of it. If you are having trouble removing marks and burns etc on your kits then I suggest starting at a lower grit. It really is the secret to a getting the finish you want in the quickest time. I worked my way from 80 grit to 120 then 180. With the 180 grit I started on the flat faces of the headstock and the neck as well. With 180 grit complete it was then on to 240 and 320 for the whole shebang. Very nice and smooth now. I would have gone down to 400 grit, but I seem to have run out. I raised the grain once with water and knocked it down again with 320 grit.

With the gouges requiring filling, I turned to my old friend Timbermate. Of all the containers I had lying around the man cave, the Pine seemed to be a reasonably close match to the maple. I filled the holes and waited 12 hours for it to dry.

Pine Timbermate to the rescue. Hopefully it will stain the correct colour.
Finally, I got the 320 grit sand paper out and sanded off the excess Timbermate. It looks *ok*. The fills are quite obvious, but I'm hoping that with a little Amber dye they will be less so. When all is said and done I may have to paint the headstock black but I really don't want to go there if I don't have to. I do love a nice yellow maple neck with a black Telecaster.

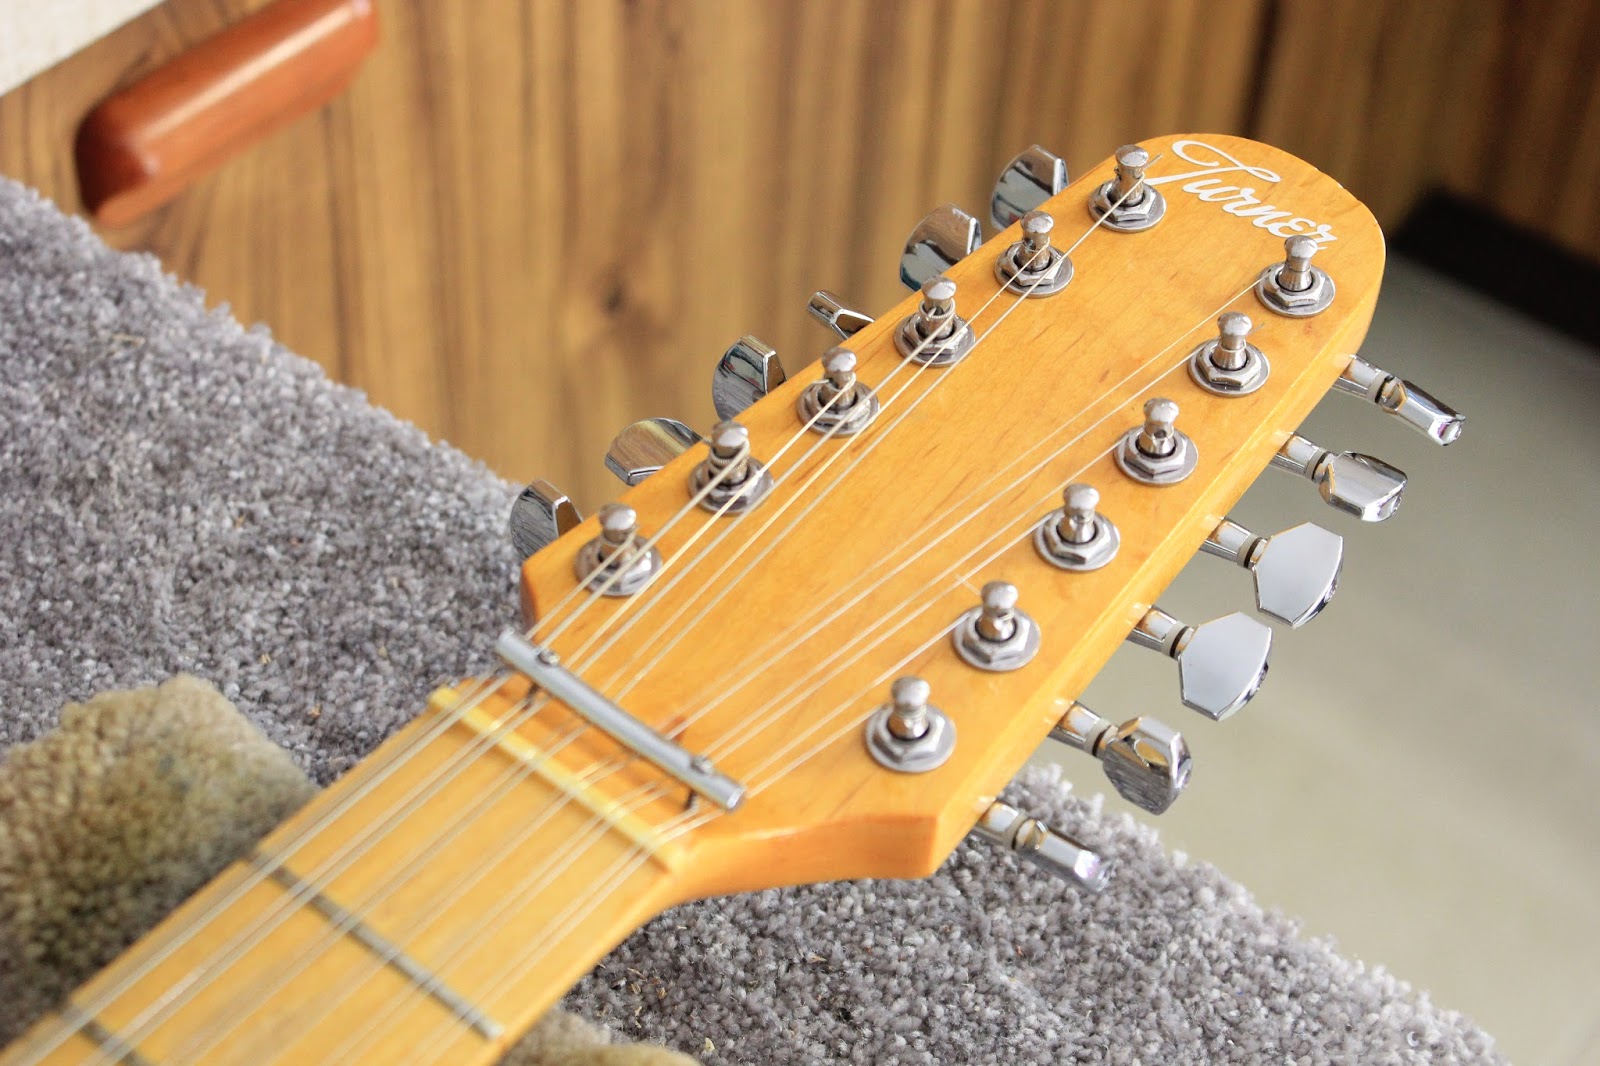
The Timbermate sanded off. Camera is blurry, but you get the idea.
The neck is now almost ready for phase 2. I need to get my hands on some 400 grit sandpaper, raise the grain a few more times and then I cal slap on some amber dye and Tru-Oil. Still a ways to go before assembly, but getting there now!

Thursday, 10 December 2015

12 String Telecaster: None more Black

With the glue spots fixed on the veneer of the 12 String Telecaster, it was time to finish the sanding on the rest of the body and get the black dye on there. Having already sanded the body comprehensively to 180 grit I proceeded to sand with 240 and 320 grits until she felt really smooth all over. I then raised the grain with water a couple of times, knocking the raised grains off with some 400 grit.

With the body smooth, out came the black Colortone. I gave the body 3 rounds of dye before I was satisfied with the coverage. There are a couple of places on the end-grain that aren't accepting as much dye as the rest (this usually happens on the horns and in the cutouts) but overall I'm pretty happy. There's also a patch around the ferrule holes that is taking more stain than the rest of the body. It's very possible that this area didn't get as good a sand as the rest. Let's chock that up to a little DIY character.

The back is a bit patchy, but black dye is like that.
After I was satisfield with the back and sides I went back to the front veneer. Here I played with a little more dye, trying to get it into the flame figure as much as possible. I did this by applying some colour, letting it soak for a little while, then pulling it back out with a clean wet rag. Trouble is, pulling dye back out again is a bit of a balancing act - teetering between popping the flame and making the rest if the grain too lifeless and grey. I think I managed to get a good balance in the end. I also attempted a subtle black burst around the edge.

A subtle black burst? Can you see it?
All in all I'm very happy. I'm very interested to see what the lacquer does to the grain here. Hopefully it will pop it even more and give me a little chatoyance. Fingers crossed! I took the tape off the binding to let the body hang and dry completely, and man - she looks even better with the stark white strip around the top. The only thing that could have been better is two strips of binding top and bottom!

Much better without the tape.
Tomorrow I'll start to spray White Knight Clear Gloss Acrylic and we'll really get to see what she's going to look like. While I wait for the coats to dry I'll be able to get started on the neck which is going to get the Fender Vintage yellow treatment - fretboard and all.

Wednesday, 9 December 2015

12 String Telecaster: Goof-off to the Rescue

Well more progress on the 12 String Telecaster today after a few days procrastinating over my glue issues. Resigned to the possibility that a solid finish may end up being the only possibility here, I decided to break out the Goof-off adhesive remover from Bunnings and give the glue spots some curry.

Goof-off glue remover - a bacon saver!
I made three passes over each glue spot. First I applied the Goof-off with a rag, rubbing hard on each spot for two or three sloppy applications. Then i took a clean rag and rubbed the same spots, trying to draw as much of the chemical back out of the wood as possible. This process I repeated three times in total, using up a good quarter of the container in the process.

After letting the body dry completely (this stuff evaporates pretty quickly), I then hit each glue spot with some 240 grit sandpaper; sanding until the (dye) tide lines around each glue spot couldn't be seen any more. I risked sand-through with each swipe of the paper, but there wasn't much alternative. It was with trepidation that I then broke out the black Colortone dye to see how successful my ministrations had been. Turns out they had been quite successful indeed!

A much better dye coverage second time around.
Fortunately there were no sand-through patches to be seen. Not only that, the dye had soaked into the previously bare patches remarkably well, with most of the glue spots now completely invisible. There still remains the faintest few spots around the bottom binding, and I'm still not sure what I will do about these. I'm not too keen to get too much of the remover on the binding, so I'll possibly use the wire brush during final dye application to try and get more dye in there. Either way I'm immensely pleased with the results. Looks like I somehow dodged a bullet with this one. Hats off to Goof-off. It gets a high recommendation from me after the results I've seen today!

Tuesday, 1 December 2015

12 String Telecaster: Fucking Glue Spots

Ok, did I say that the 12 String Telecaster kit had no obvious glue spots? Well, I was wrong. I got the kit out today to do some more sanding and to hunt for possible glue spots on the flame maple veneer (just in case :o). I'm leaning towards a trans black finish on the top, so I applied a weak wash of black dye to start to pop the grain and as a pre-colour just in case there's any glue spots to uncover.

A weak wash of black dye to highlight any glue spots.
The flame started to pop alright, but unfortunately I uncovered glue-a-plenty on the veneer. There's big gloops of glue around the binding near the neck pickup route, and it continues around most of the top half of the guitar. How the hell do you spill so much glue getting the binding on there and not clean it up?


A real mess around the binding
I'm pretty pissed off to be honest. These factories will build a kit with the thinnest of thin veneers to save money, but will then slather glue all over it to make finishing said veneer next to impossible. I don't know how I'm going to clean this glue up without sanding right through the veneer. I might try a few rounds of Goof-off Adhesive Remover on there to see if it helps, but I'm not holding out much hope. At this rate my nice flame maple 12 string is going to be covered with a solid colour finish. Not happy Jan!!

Friday, 20 November 2015

12 String Telecaster: Unboxing and Mock Build

Yet another new kit arrived today that I'm very excited about. It's a new kit from DIYGuitars - a flame maple 12 String Telecaster! Even though I can't really play one for shit, I must confess that I am in love with 12 string guitars. I love my Olson 335 12-String build, and this build looks to be just as cool.

Unboxing the Telecaster
The kit came well packaged from DIYGuitars, with all the wooden pieces snugly placed and protected by soft sheeting. The components also came well wrapped, with the chrome components (bridge, control cover) especially well looked after. The 3-piece basswood body of the guitar has no machining marks or obvious glue spots and the binding looks well done. The flame maple veneer is subtle, but should come alive with a little stain. 

Some nice Flame Maple Veneer popped with a little water.

There's a little grain to be seen on the back of the body, but not too much. About the only negative I could say is that one of the string-through holes is a little off centre, throwing all the others off too. It won't be as obvious once the ferrules go it, but I'll still know.

One ferrule hole is not quite straight.
The neck is straight and fits well in its cavity. The 12-string headstock is a new one for me - I'll have to come up with some kind of design for the top - not that there's much wood up there to work with. There's also a subtle grain to the fretboard that I really like. It's going to be a hard decision whether to give the neck a little amber dye or leave it natural. I'm leaning towards a yellow + amber + orange burst for this one so an amber neck may not be the best decision. Still thinking on that one.

Straight neck with all those tuner holes.
Some subtle grain on the fretboard.
Straight from the unboxing to the mock build, and this thing went together in no time. 6 of the strings go through the body so the string ferrule holes needed to be aligned with the bridge. The factory has even marked where the top corners holes of the bridge should be drilled so there's no wiggle room as far as bridge placement is concerned. Just drill and screw.

Bridge positioning - making sure the string-through holes line up.
It really is a matter for this build, of placing the bridge and then adjusting the neck to get the strings travelling correctly. But with no wiggle room in the neck pocket either, it's in the hands of the gods to be honest. Let's hope the factory did its job properly, especially with respect to scale length and intonation. The good news on that score is that the bridge actually has compensated saddles for the high and low strings of each pair. Pretty amazing for such a cheap kit. My 12-string 335 build had no such thing with it's cheap tune-o-matic bridge. I can't wait to see how this bad boy sounds!