Showing posts with label Mock Build. Show all posts

Saturday, 21 November 2015

Jazz Bass: Unboxing and Mock Build

Another day, and another new build - this time from my stack (that never seems to get any smaller ;) ). It's a Pitbull Guitars JB-1 styled on the Fender Jazz bass - a kit i picked up during the birthday sale way back in September 2014!

Finally cracking the box open, the kit looks in good shape, apart from a split at the heel of the body where two of the basswood pieces have joined. It's quite possible that this may have resulted from the kit's long stay in the stack.

Unboxing the Pitbull Guitars JB-1 kit.
A split in the heel at the body join
Far from a game changer, the split will be easily filled. What it may mean though, is that this kit is destined for a solid colour. To be honest I was leaning towards a solid colour anyway. There's little to no grain on show here and besides, I've also got an ash JBA-1 in the stack and that will be much better for stain!

As with all Fender-style kits, the mock build went together very quickly. The only hassle was finding the correct position and angle for the bridge. The problem was I couldn't use the outside tuners to hold the strings down the neck, owing to not wanting to push the tuner bushings into the headstock this early in the game. Without the tuners, I had to resort to a clamp on the headstock, and that made getting the string lengths equal (and therefore a straight bridge) very difficult. In the end I made it, as you can probably imagine since the photo below doesn't show a smouldering mess.

Mock build complete, bridge placed correctly, and ready for sanding.
In all honesty, if I was to voice a personal preference out of the various Fender solid body bass models, I would go for the P-Bass. It's the model Dee Dee Ramone used after all, and the kooky control plate on the jazz bass just always threw me for a loop. I know it's a styling choice carried over from the Jaguar, Mustang, even the Jazzmaster and it's ilk, but I like the P-Bass continuation of the scratch plate much better. Having said that, now that the mock build is together I'm pretty pleased with how it looks. I still haven't decided on colours - both body or scratchplate  (I'm even tossing up whether a black control plate would look good) - so that decision can be mulled over while I get the sanding done.

Next job though - shaping the headstock!

Friday, 20 November 2015

12 String Telecaster: Unboxing and Mock Build

Yet another new kit arrived today that I'm very excited about. It's a new kit from DIYGuitars - a flame maple 12 String Telecaster! Even though I can't really play one for shit, I must confess that I am in love with 12 string guitars. I love my Olson 335 12-String build, and this build looks to be just as cool.

Unboxing the Telecaster
The kit came well packaged from DIYGuitars, with all the wooden pieces snugly placed and protected by soft sheeting. The components also came well wrapped, with the chrome components (bridge, control cover) especially well looked after. The 3-piece basswood body of the guitar has no machining marks or obvious glue spots and the binding looks well done. The flame maple veneer is subtle, but should come alive with a little stain. 

Some nice Flame Maple Veneer popped with a little water.

There's a little grain to be seen on the back of the body, but not too much. About the only negative I could say is that one of the string-through holes is a little off centre, throwing all the others off too. It won't be as obvious once the ferrules go it, but I'll still know.

One ferrule hole is not quite straight.
The neck is straight and fits well in its cavity. The 12-string headstock is a new one for me - I'll have to come up with some kind of design for the top - not that there's much wood up there to work with. There's also a subtle grain to the fretboard that I really like. It's going to be a hard decision whether to give the neck a little amber dye or leave it natural. I'm leaning towards a yellow + amber + orange burst for this one so an amber neck may not be the best decision. Still thinking on that one.

Straight neck with all those tuner holes.
Some subtle grain on the fretboard.
Straight from the unboxing to the mock build, and this thing went together in no time. 6 of the strings go through the body so the string ferrule holes needed to be aligned with the bridge. The factory has even marked where the top corners holes of the bridge should be drilled so there's no wiggle room as far as bridge placement is concerned. Just drill and screw.

Bridge positioning - making sure the string-through holes line up.
It really is a matter for this build, of placing the bridge and then adjusting the neck to get the strings travelling correctly. But with no wiggle room in the neck pocket either, it's in the hands of the gods to be honest. Let's hope the factory did its job properly, especially with respect to scale length and intonation. The good news on that score is that the bridge actually has compensated saddles for the high and low strings of each pair. Pretty amazing for such a cheap kit. My 12-string 335 build had no such thing with it's cheap tune-o-matic bridge. I can't wait to see how this bad boy sounds!

Saturday, 27 June 2015

Jeremy's Mahogany Les Paul: Mock Build - Part 2

With some more hardware arriving and a little time on my hands, I was finally able to get going on the mock build of Jeremy's Mahogany Les Paul. The first order of the day was getting the pots sorted out. Jeremy supplied me some authentic Gibson 500K pots that are a little bigger than the mini-pots supplied with the kit. To get them to fit, I needed to enlarge the pot holes from 8mm to 10mm - taking it easy with successively larger drill bits. With the holes enlarged, I also needed to extend the cavity around the two high-side (volume) pots using the Dremel and a sanding wheel.

A little time with the Dremel and the Gibson pots now fit in the cavity.
After verifying that the pots fit nicely through the body (which they did!), I got the nuts tightened down just to make sure the heights looked good (which they also did!). I chucked Jeremy's gold top-hat knobs up onto the shafts and they fit OK, although the split shafts deformed a little and aren't turning perfectly. Might need to think about specific knobs for split shafts in the future.

Pots fit nicely through the body and the top-hat knobs kinda work on the split shafts.
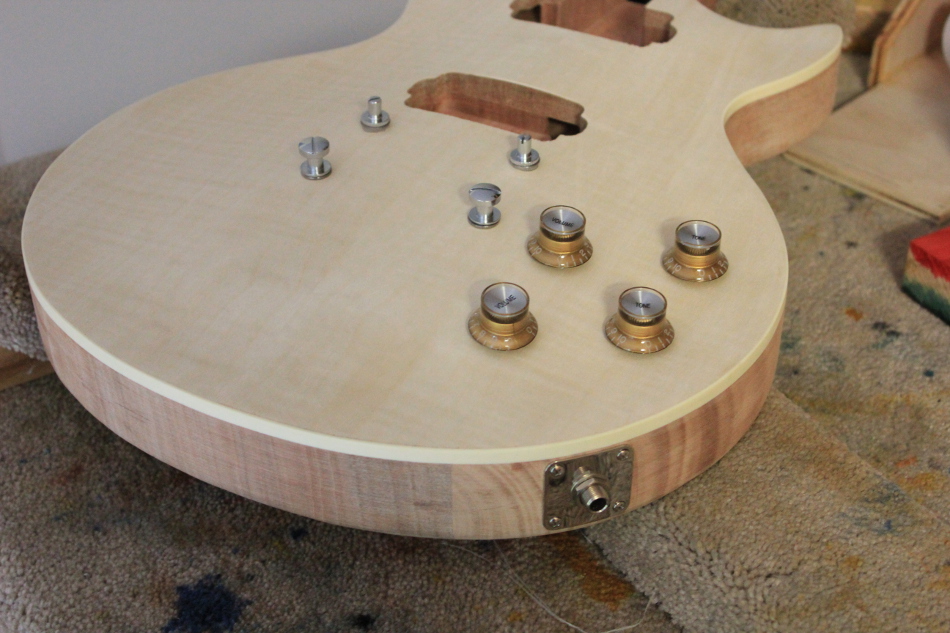
With the pots mounted, it was time to fit the output jack and jack-plate - drilling the holes for each of the 4 screws, and making sure it sat nice and straight with respect to the binding. The hole for the jack has not been drilled dead centre by the factory, but it still looks reasonably good. All in all a piece of cake once I got the plate oriented correctly - it's nice and square and you can see the results in the photo above.

With smaller hardware fitted, it was time to test fit the important pieces - the stop bar, bridge and neck. Jeremy bought a beautiful TonePros nickel tune-o-matic bridge and stop bar for this build and it really looks the business. Even with the "export" sized mounting posts however, the holes drilled by the factory are just a smidge too large for both the stop bar and bridge posts.


Interestingly, the TonePros (adjustable) bridge screws were able to successfully fit into the stock bridge posts. I quickly decided to go with this configuration, as the stock part can't be seen with the bridge in place. The stop bar, however, is another story. The stock posts and the nice nickel stop bar supports are completely incompatible. In the short term I used the posts and the supports from the kit to mount the TonePros stop bar. The trouble is, the chrome posts are glaringly obvious against the nickel TonePros part. At the end of the day I'm going to have to dowel and re-drill the existing holes to accommodate the TonePros posts.

Anyway, with the bridge and stop bar in place (for now), the neck was clamped down and the E strings used to gauge the straightness of the neck.

The neck looks straight and the E-strings equidistant from the fretboard edges.
With my previous ministrations cleaning up the neck heel, the neck clamped down nicely in the pocket and the E strings travelled straight and equidistant from the edges of the fretboard right up to the nut. As usual, it's another nicely built kit from the guys at Pitbull. Phew!

So, with this done, there are still a couple of issues to be solved before the finishing can begin. Firstly, Jeremy's set of awesome Kluson tuners need to be fitted - and that's going to require the dowelling of the existing factory tuner holes and re-drilling them to fit. After that, the stop-bar posts holes will need the same treatment. So, a little bit of pain before the fun of sanding, sanding and more sanding can begin in earnest. Stay tuned!

Friday, 12 June 2015

Jeremy's Mahogany Les Paul: Mock Build?

Today I started looking at getting the mock assembly finished for Jeremy's Mahogany Les Paul so that I can get on with the sanding and finishing. Unfortunately, however, there were a few compatibility issues with the custom hardware that Jeremy supplied.

Firstly, the TonePros bridge posts are US standard while the post holes pre-drilled in the body are metric (import). While the stop-bar posts seem to fit well, we'll have to source a new bridge with import posts before the bridge can be finally fitted. In the meantime, I'll have to use the import-sized bridge supplied with the kit.

We need a bridge with import bridge posts, and a deeper 3-way switch.
Secondly, the nice long switchcraft 3-way switch that Jeremy purchased doesn't have enough clearance for the remaining thickness of the body at the switch cavity. It will have to be replaced with an import sized switch as well. I've already ordered a replacement from Realtone - a switch I've had no problems with on previous Pitbull builds - so that will be here today I hope.

Standard Kluson tuner bushings are too small for the pre-drilled headstock

Lastly, the nice Kluson tuners that Jeremy sent have the wrong diameter bushings for the holes that were pre-drilled in the headstock. Rather than dowel the existing holes and re-drill, a set of adapter bushings have been ordered to fix the issue. It's just more thumb twiddling!

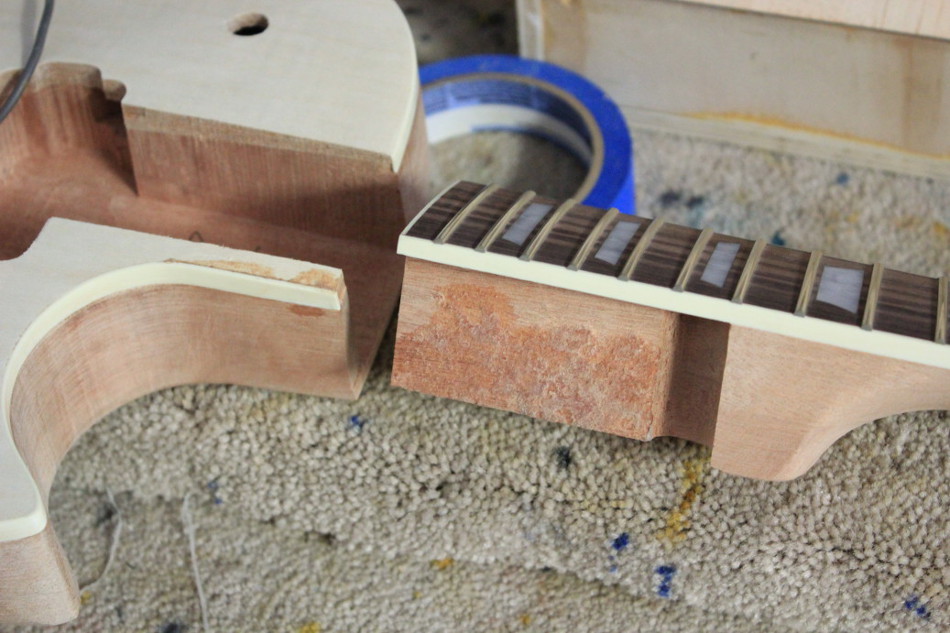
While waiting for the additional parts, I had another look at the neck fit and found something nasty - a large patch of excess glue on the side of the neck heel. This isn't just a glue stain where glue has been dripped and wiped away, this is a huge glob of shite that seems to have all kinds of greebles stuck in it. In places it looks about 1/2 a millimetre thick! It's not a big issue, but I've never seen anything like this on a Pitbull kit before.

A big glob of gunge on the side of the neck heel. That shite's gotta go!
There was nothing to do but get out the 180 grit sand paper and clean that crap off. All it took was 10 minutes sanding it was pretty well gone. Even though it's really not a big issue anyway - the main stay of the neck joint is the underside of the neck heel - it's still good to know that the glue will now be able to adhere to all 3 sides of the heel.

Shite be gone.
As you can imagine the neck fit is a little looser now than when I initially tried it, but it's still good enough. There isn't enough of a gap either side to be noticeable from the top that's for sure, and the back and side edges look good where they contact the outer side of the guitar.

Still a good neck fit from the outside.
For now all I can do is twiddle my thumbs and wait for my new hardware to arrive. It's really only the tuner bushings that I really need to continue with the mock build, so I wish they'd hurry up and get here already!! I really don't expect there to be any issues with the neck angles -  either side to side or the break angle - so as soon as the bushings are here this mock build can be quickly dispensed with and I can get on with some real finishing work!!

Friday, 13 March 2015

Thinline Cabronita: Bridge and Tremolo

With bad weather making more clear coats on the Ash Stratocaster build impossible today, I got on and positioned the roller bridge and tremolo on the Ash Cabronita build. Firstly, I consulted the Stewmac Fret Position Calculator to determine the correct location of the bridge posts. With a scale length of 648mm (324mm from the nut to the middle of the 12th fret), the distance of each bridge post from the nut was quickly established - the bass post being 1.5 to 3mm further than the treble post for the purposes of compensation.

The bridge is placed for correct intonation and the Tremolo is fitted.
To determine the lateral position of the bridge posts (side to side) the two E strings were installed across the bridge and up the neck. The bridge was moved side to side until the strings travelled straight up the neck equidistant from each side of the neck. With the position of each post established, a transfer punch marked the correct location and the post holes were drilled using a Brad Point bit in my electric hand drill. The trick is to keep the drill as straight as possible in both dimensions whilst drilling.

Looking amazing - even the white undercoat.
The posts were carefully hammered home with the bridge in place (to stop the posts going in crooked) and soon everything was in. That left just the tremolo to position, and I did this by eye, making sure the strings travelled straight from the tremolo and over the bridge rollers, and that the tremolo itself was perpendicular to the base of the guitar.

In addition to the bridge and tremolo, I also got the headstock vinyl decal installed. A few coats of Tru-Oil will be required to lock the decal in place, but the headstock is basically done now.

The decal is on the headstock and she's looking hot.
The 10 coats of Tru-Oil that I've laid down on the neck are feeling very nice indeed. This baby is going to play beautifully. All in all I'm really liking the look of this build - even with the white undercoat. I'm still deciding on colours, but it's clear that the solid colour was a great choice. I'm really excited about seeing this build come together. The xTrem from GFS feels really nice (much more fluid than my Bigsby B70) and all the chrome really pops.

Monday, 15 December 2014

Ash Les Paul: Grain Filling and Dying a Burst

After many silly-season distractions, I managed to get some more work done on the Ash LP build today. I sanded the body with 240 and 360 grit sandpaper before grain filling both the veneer and the back/sides with a slurry of Walnut Timbermate. The Timbermate was then sanded back with 400 grit until just the filled pores remained. The walnut has certainly popped the ash grain nicely indeed! After a couple of rounds of grain raising with a little water, and then cutting back with 400 grit, the body was finally super smooth and ready for dye.

Grain filled with Walnut Timbermate and sanded back with 400.
Some water brings out the colour and allows the grains to raise.

Timbermate and grains raised on the back and sides also.

Since contemplating the sand-storm colour scheme, I've had serious second thoughts (mainly centred around my lack of skills to adequately perform the dye job) and I've reverted to a very simple burst for this build. Time for the colour to go on!

I started with Yellow Colortone as the base colour and progressed through 3 more colours - Vintage Amber, Red Mahogany and Tobacco Brown - to arrive at a burst I was happy with.

The base colour - Colortone Yellow over the grain filled Ash.
A very subtle burst with Amber Colortone to start the fade.
Red Mahogany Colortone next to continue and darken the fade.
Quite a nice "Honey Burst" at this stage.
Finally the Tobacco Brown Colortone to darken the edges,
and complete the burst.

All in all I'm extremely happy with the results. I think I'll go over the burst again tomorrow with a little more colour to try and soften the colour boundaries even more, but even as it stands, it's still looking pretty damn good! I'll have to make a video of my burst technique one of these days just in case anyone out there is interested.

The next step for this build is to decide on a stain colour for the back and sides. I want a colour that will compliment the burst top and yet not take the eye away from it. Something pretty neutral, but still with some style. Maybe some red mahogany and amber mix, but I'm still contenplating that one.

Tuesday, 9 December 2014

Ash Les Paul: Unboxing & Mockup

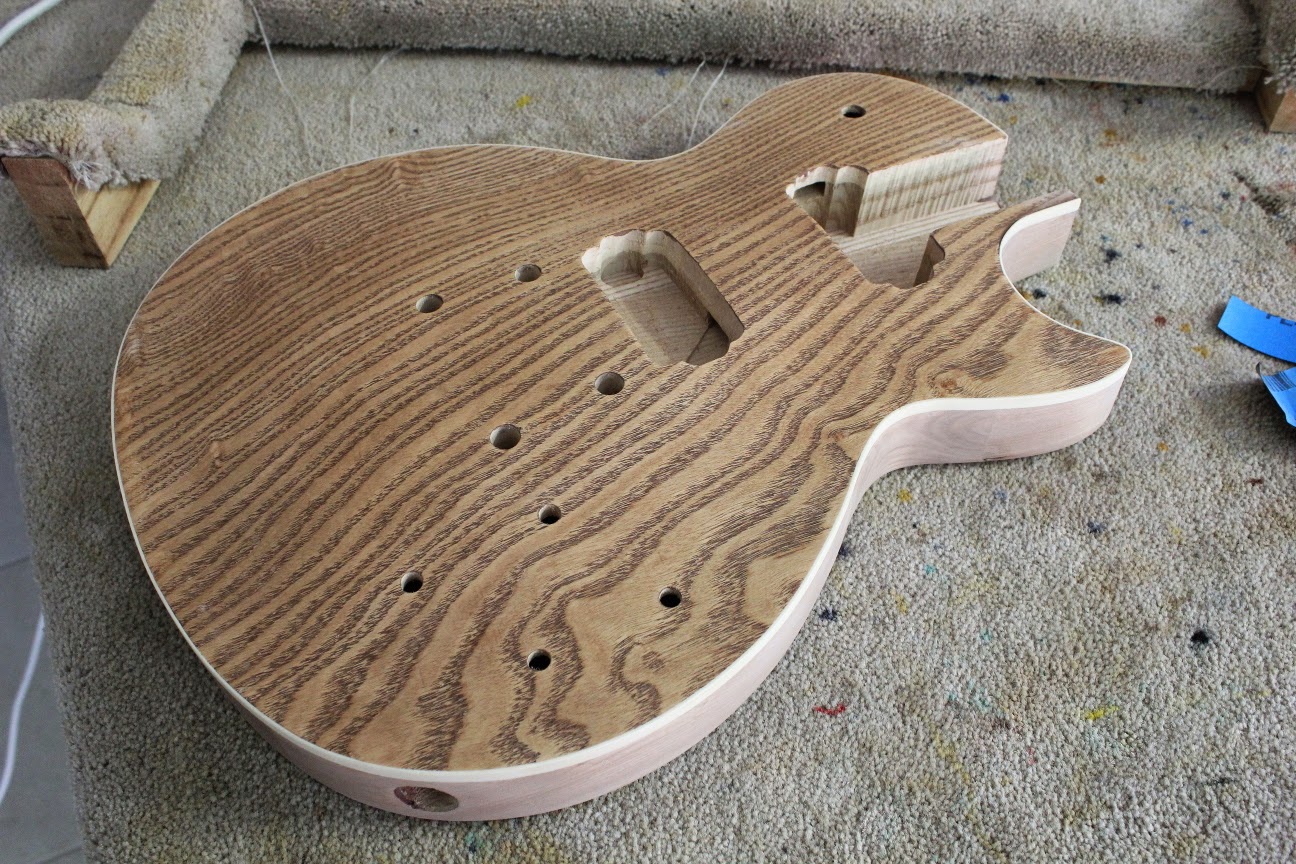
Today I started a new project - an awesome Ash Les Paul. It's a Pitbull Guitars LPA-1 kit and she looks a beaut! I've never built an LP before, and this looks to be a great starting point :). Right out of the box the kit looks great with a solid ash body and a one-piece ash veneer on the top. Both the top and the body display some really nice figure, and I can't wait to get some stain on it! 


As for the neck, the neck pocket fit is spot on with no gap on either side to be seen. The heel fits nice and snug in the pocket, and on the lower side the fretboard is sitting right down on the body. I'm very happy with the fit indeed.


In the past I've had mixed success with set neck builds. This has been mainly due to my own impatience, but I'm really hoping that this project will meet the high standard I set with my Solidbody PRS build. 

While the neck fit is perfect, the body does exhibit a couple of annoying glue spots under the binding, and there are quite severe machining marks all around the outside.


Nothing for it but to keep sanding away with 240 grit until all the machining marks are gone. I do hope there's some binding left when I'm finished! After sanding the body I'll hit the glue spots with a little stain to see if I need to get the wire brushes out. The fretboard also has some annoying little glue patches where it has obviously been filled. I guess I'll have to get a bit of fine wet and dry on to these as well.


Anyway, glue spots and machining marks not withstanding, I got the kit together for a mock build in next to no time. With the neck straight in the pocket, the bridge and stop-bar posts have been positioned correctly (phew) and the E strings travel straight up the fretboard. At it's lowest bridge height, the strings are on the deck at the 22nd fret so all in all she's looking pretty good for a straightforward assembly!


Before finishing starts in earnest, I am seriously considering routing a third "middle" humbucker cavity between the two existing cavities. I'm not sure what real use a middle humbucker would be "sonically", but I've always loved the look of 3-pickup LPs. On the other hand, since this is my first ever LP build, I might just keep it simple for now.

I'm also considering quite a radical dye job. I thought that something like the PRS "sandstorm" fade might look really great on this grain pattern. Something like this:


What do you think? Do you think it looks the business, or would I be better served with a simple honey burst?

Tuesday, 7 October 2014

Black Ash Telecaster: Headstock Shaping & Neck Dye

Today I put the body to one side for a while, and started finishing the neck of the Black Ash Telecaster. I decided to go for a traditional Fender "yellow neck" look to contrast with the black body. Using my usual 'modern Telecaster' headstock pattern from the headstock templates pdf, I quickly got the headstock shaped and the whole neck sanded with 180, 240, 360 and 400 grit paper. At 400 grit, I raised the grain a couple of times and knocked it back down again with a gentle wipe of 400.


For the colour coats I used a weak solution of Colortone Vintage Amber, and applied it to the headstock, neck and fretboard. This is the first time I have dyed a fretboard, so it's kind of an experiment. I love the look, but have never been able to work out how to seal it effectively and still provide a good playing surface.


For clear coats I used two products. On the headstock and neck I applied my tried and trusted standby - Tru-Oil from Birchwood-Casey. On the fretboard I didn't want to use Tru-Oil (I've read some horror stories of fretboard wear and tear with Tru-Oil applied). Instead, I used some Dingotone Guitar Wax - hopefully this will be effective in sealing in the dye and providing a nice playing surface.


I have always loved the way Tru-Oil necks feel to play. The Dingotone Wax already feels really nice on the fretboard, so the combination of the two should result in a beautifully smooth playing axe. Expectation is now very high! A few more coats of Tru-Oil on the neck and this baby will be ready to assemble...

Monday, 6 October 2014

Black Ash Telecaster: Tru-Oil Coats


After a relaxing 3 week holiday in Middle Earth, I have finally got back to the man cave! Feeling the pangs of withdrawal from my building addiction, I was immediately rushed to the man cave for a little guitar building therapy. Whew..!

Before I went away, I managed to sand the body of the black Ash Telecaster back with 180, 240 and 320 grit to remove the remainder of the glue spots mentioned in my previous post. Another coat of black Colortone dye was then applied and the glue spots all but disappeared. However, no matter how much I sanded, I just couldn't remove those small "grain" marks on the front of the body!

Leaving these marks for the moment, I applied a soak coat of Tru-Oil to the body followed by 5 more thin coats. I then applied two more thin coats of Tru-Oil with black Colortone dye (concentrate) mixed in. It turns out, at least in the case of black dye, that this works unbelievably well! In fact, the resulting mixture smelled remarkably like Wudtone. Hmm, I might be on to something there ;). The marks on the front of the body have been substantially reduced using the coloured oil and I'm pretty bloody happy with the result.

Anyway, back in the man cave today I lightly wet sanded the oil with 800 grit sand paper and applied two more thin coats of un-dyed Tru-Oil. The resulting finish is really starting to look good.


To be honest, I don't think the body is going to need much more. I really like the way the ash grain texture can still be seen and felt, and the semi-gloss finish really enhances this effect. Time to get started on the neck!