Showing posts with label Dying a Burst. Show all posts

Tuesday, 24 November 2015

Jeremy's Mahogany Les Paul: Fit to Burst

It's crunch time for Jeremy's Les Paul build - today's the day that the front veneer receives its colour. After weeks of sanding, from 180 through 240, 320 and 400 grits, the body is finally ready to be dyed with Colortone dye. Before the dye could go on though, the grain had to be raised, and that meant several applications of a wet rag to swell the fibres followed by a light sand with 400 grit to cut them off again flat. All in all it took 4 such cycles to get the surface nice and smooth.

With that out of the way, the Colortone dye could be applied with impunity. I started by wetting down the whole surface of the guitar. This makes the first dye pass go on much more evenly; reducing the risk of the dreaded tide-lines forming. This was closely followed by the colour layer - Colortone Lemon Yellow. My god it was bright!

Layer 1 - Colortone Lemon Yellow.
I made a few passes with the Yellow to maximise the amount of pop from the flame maple figure. Despite my best efforts, including using a clean wet rag to try and drag colour out of the surface grains to maximise contrast, the flame figure was still only subtle at this stage. The next colour to go on, and the start of the burst proper, was Colortone Vintage Amber. In the beginning the contrast between Yellow and Vintage Amber was again very subtle, but the Amber did help to enhance the contrast with the flame even more.

Layer 2 - A subtle burst of Colortone Vintage Amber.
Next came the Colortone Red Mahogany layer. Using a combination of Vintage Amber and clean rags to blend the Mahogany into the previous layers, the results were really starting to take shape. Particularly pleasing was the way the flame figure took on the darker tones of the Mahogany when the colour was applied in an area and then taken off again during the 'merge'.
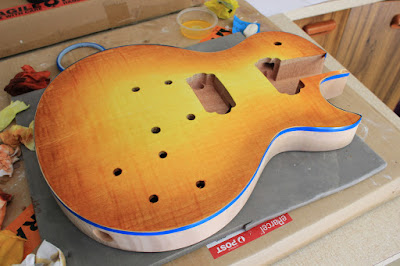
Layer 3 - Colortone Red Mahogany.
Lastly came a little Colortone Tobacco Brown to darken up the edges. To be honest the Tobacco didn't have as much of an impact as I was expecting, but I think by this stage the veneer was well and truly saturated and was refusing to take any more colour.

Layer 4 - Colortone Tobacco Brown, but to little effect.
All in all a pretty satisfactory burst. Except, that is, for the fucking glue marks along the top edge that made their sudden appearance half-way through the Red Mahogany layer. I could have cried when I saw them materialise out of thin air. At the time there was nothing for it but to finish the burst and leave the problem to be fixed later.

Glue spots. Where the fuck did they spring from??
So what to do?  Well apart from weeping into my after-lunch coffee, I let the surface dry under the fan and pondered my next steps. Armed with some friendly and poignant advice from the forumites at the BuildYourOwnGuitar forum, I grabbed my wire brushes, mixed up a 50:50 concoction of Vintage Amber and Red Mahogany and carefully set to the glue spots. The idea was to scratch each spot with the wire brush, pop some dye over the spot, and then blend it in with the rest of the burst. After 3 passes of this process, the burst had darkened substantially but the glue marks were a lot less obvious then previously.

Mischief managed. Wire brush an extra dye to the rescue.
If you know where to look you can still see the glue spots faintly lurking behind the finish. But really it's a hell of a lot better than when I started. I'm tempted to stop here and call it a day. No point tempting fate too far! I'll see how I feel tomorrow when I colour the rest of the body, but I'm pretty happy with how she looks right now.

Wednesday, 17 December 2014

Ash Les Paul: More Dying and 3 Coats of Tru-Oil

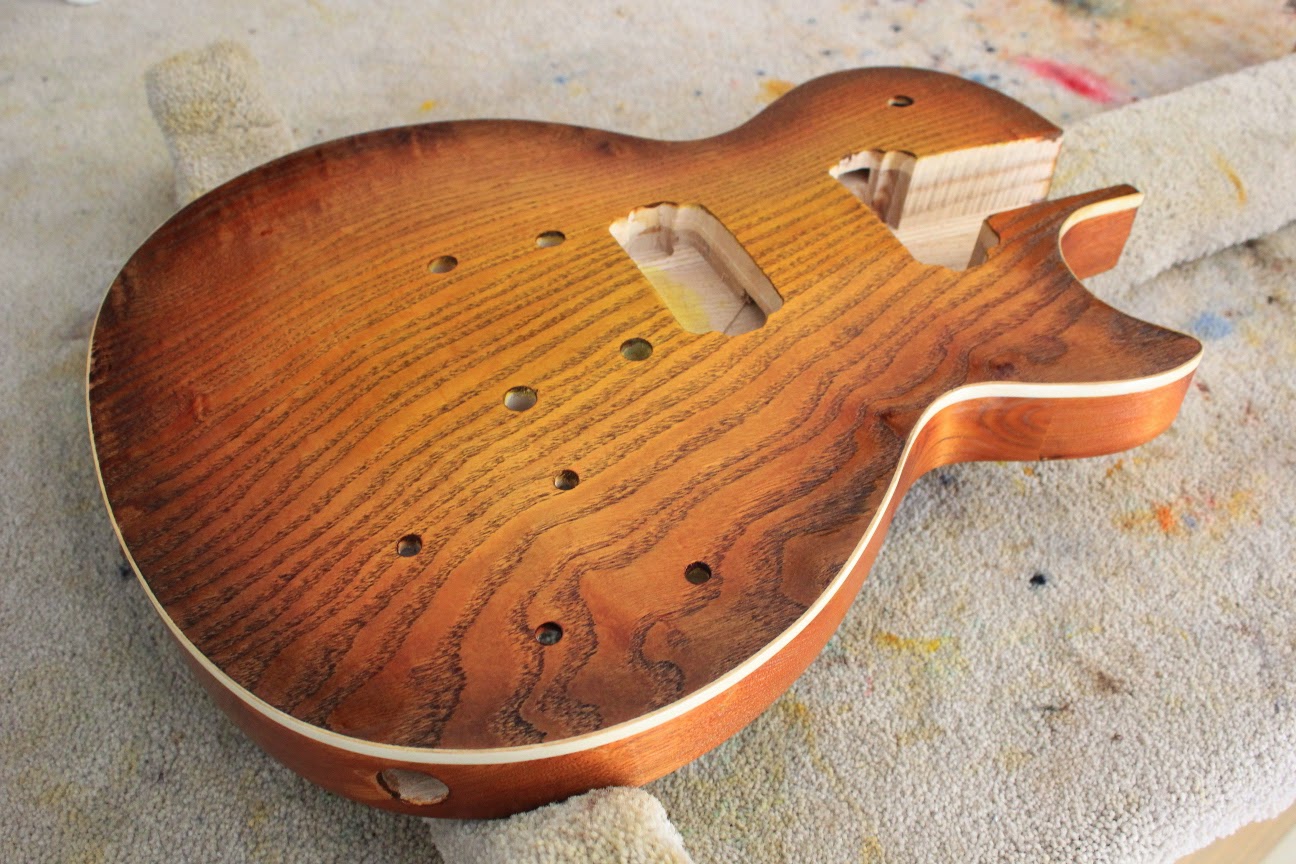
With the top burst looking pretty schmick, it was time to make a decision about a colour for the back and sides of the Ash Les Paul. With the grain already nice and dark thanks to the Walnut Timbermate, I opted for a medium shade of brown for the remainder of the body. I achieved it using an initial few coats of Vintage Amber Colortone dye, and then following this up with a few more coats of Red Mahogany (while the original dye was still wet). I've used this mix before on my 335 Semi-Hollow Bass build and I really like it - especially with the darker grain peeping through. It's warm, and it glows - without being too amber, too red or too middle of the road.


With the back dyed, it was time to move on to the Tru-Oil. After leaving the dye some hours to dry completely,  I managed to get a good soak coat of oil over the entire body before the day was done - man, this Ash body just drank the oil up! I'm always amazed just how fantastic wood looks when that first coat of Tru-Oil is on and still wet - the grain just jumps out at you. The ash grain on this top looks especially dark and wonderful now that the Tru-Oil is soaking in, almost like it's been burned. I really, really like the effect! As of this moment - now 2 days on - I have 3 coats of Tru-Oil on the top, back and sides, and the wood is finally starting to reach saturation point (it's looking a little glossy).

Third coat of Tru-Oil on the top. It's still wet in this photo.


Third coat of Tru-Oil on the back and sides. It's still wet in this photo.
Shows how nice the Ash grain is looking with the Timbermate filling combined
with Tru-Oil. Timbermate hasn't filled the grain smooth but I like it much better
this way. You can still see the grain texture.

So now it's a matter of applying coat after thin coat of Tru-Oil until the body is shiny. While that's happening, I'll be getting on to the headstock shaping and prepping the neck for dying and oiling as well. She's coming along nicely!

Monday, 15 December 2014

Ash Les Paul: Grain Filling and Dying a Burst

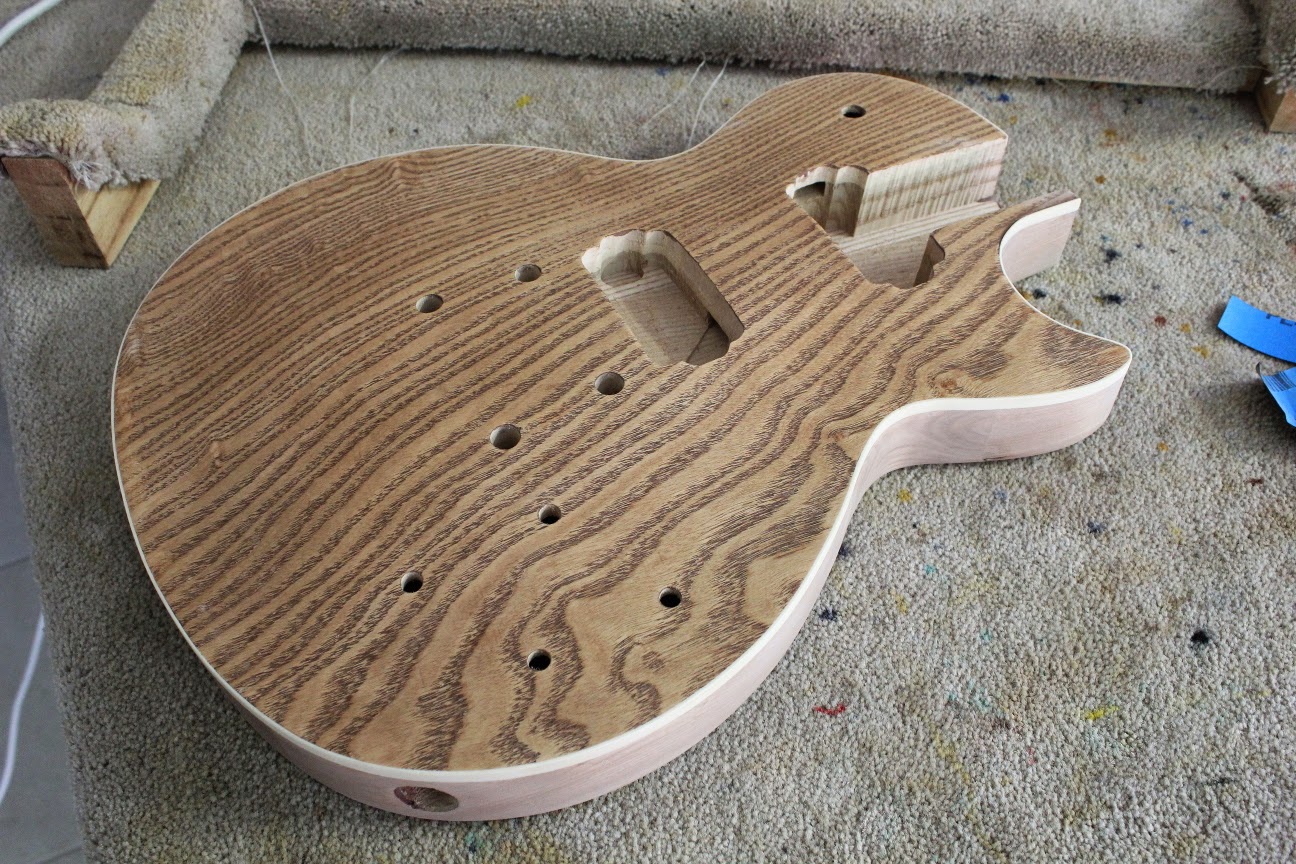
After many silly-season distractions, I managed to get some more work done on the Ash LP build today. I sanded the body with 240 and 360 grit sandpaper before grain filling both the veneer and the back/sides with a slurry of Walnut Timbermate. The Timbermate was then sanded back with 400 grit until just the filled pores remained. The walnut has certainly popped the ash grain nicely indeed! After a couple of rounds of grain raising with a little water, and then cutting back with 400 grit, the body was finally super smooth and ready for dye.

Grain filled with Walnut Timbermate and sanded back with 400.
Some water brings out the colour and allows the grains to raise.

Timbermate and grains raised on the back and sides also.

Since contemplating the sand-storm colour scheme, I've had serious second thoughts (mainly centred around my lack of skills to adequately perform the dye job) and I've reverted to a very simple burst for this build. Time for the colour to go on!

I started with Yellow Colortone as the base colour and progressed through 3 more colours - Vintage Amber, Red Mahogany and Tobacco Brown - to arrive at a burst I was happy with.

The base colour - Colortone Yellow over the grain filled Ash.
A very subtle burst with Amber Colortone to start the fade.
Red Mahogany Colortone next to continue and darken the fade.
Quite a nice "Honey Burst" at this stage.
Finally the Tobacco Brown Colortone to darken the edges,
and complete the burst.

All in all I'm extremely happy with the results. I think I'll go over the burst again tomorrow with a little more colour to try and soften the colour boundaries even more, but even as it stands, it's still looking pretty damn good! I'll have to make a video of my burst technique one of these days just in case anyone out there is interested.

The next step for this build is to decide on a stain colour for the back and sides. I want a colour that will compliment the burst top and yet not take the eye away from it. Something pretty neutral, but still with some style. Maybe some red mahogany and amber mix, but I'm still contenplating that one.

Tuesday, 25 March 2014

335 Semi-hollow Bass: Amber Burst

This morning I took the plunge and attempted my second burst using ColorTone dye - a so called "poor man's burst". The target of my ministrations was my ES335 Bass (EB-4) from Pitbull Guitars. My first attempt on my Flamed Telecaster build was moderately successful, although I would have liked more distinction between colours.

I prepared the body with a light sand down of 360, 400 and 600 grits. At 600 grit I did a single pass of grain raising using Metholated Spirits, but the maple hardly need it.

This time around I didn't perform a 'trace-dye' on the wood to check for glue spots. I was instead prepared to stop dying if any glue surfaced and perform a sand back to remove it. Amazingly, this Pitbull Guitars kit exhibited no glue spots at all around the binding or veneer join. What a great kit!

The steps to produce the burst were as follows:

Step 1: I wiped clean water over the entire top. This helps the dye take up evenly across the surface and prevents and streak or wipe marks in the dye.

Step 2: Using ColorTone Vintage Amber as a base, I applied this to the entire body.

Step 3: In an attempt to pop the flame maple further, while the first pass was still wet I proceeded to lightly wipe a 70:30 mix of Vintage Amber / Red Mahogany over the top.

Step 4: I applied Red Mahogany to the edges in successive passes, using the Vintage Amber to feather the edges. Several times I used a clean rag to help feather the edges as well.

Here's the result - I'm pretty damn pleased with it!


The edges are nice and dark with the red mahogany bleeding into the flame maple as it reaches for the centre of the guitar. The centre has retained it's bright Amber hue and has not been muddied with brown. With the masking removed from the binding, you can see what a great job the 3M 471 pin-striping tape has done to keep the stain off. I love this 471 tape!!

All in all an almost perfect result - I'm right chuffed with myself. And now for the back, which was completed with much the same technique, although the lack of flame maple veneer made it a little harder to accomplish an even burst IMO. I think it came out OK though. Almost as good as the front.


Those of you with a keen eye will notice a glue spot on the heel of the guitar. There are several small glue spots around the sides. After I have applied some Tru-Oil to the front and back to lock in the dye, I'll go back over the sides with the sanding block to get rid of these glue spots. It's a small price to pay for such a perfect kit on the front and back!!

Wednesday, 12 March 2014

Flamed Telecaster: Bursting!

Today, with the trace dye completely dry, I sanded the Flamed Telecaster back with 360 and 400 grits on the orbital sander. I was in constant fear of sanding through the veneer, but thankfully I got it done without that particular catastrophe striking again.

After sanding it was time to apply the burst. I started with a weak mix of Vintage Amber Colortone dye and applied this over the whole top. I followed this up with a much darker strength Vintage Amber to help pop the grain even further. With the amber on. I started to create a burst around the edge with more Red Mahogany, alternating between Mahogany, clean and Amber rags until I was pretty satisfied with the results.


 And then it was the back's turn. I pore filled the mahogany body with a slurry of Walnut Timbermate and sanded back with 400 grit. I then applied a layer of Vintage Amber dye all over the back and sides (to match the front) and then proceeded to burst again with Red Mahogany. I made sure I got plenty of Red Mahogany on the sides to provide an even transition between the cap and the back burst.


What do you think? I reckon it's pretty sweet. The flame maple has come up a treat and there is a good deal of chatoyance to be seen. Will be even more once some coats of Tru-Oil go on. The edge could probably do with a little more red mahogany, but overall I'm stoked with the results. This is the first burst I have ever done, and my message to those out there considering trying it? GO FOR IT. It isn't as hard as you might think. If I can do it, then anyone can.