Wednesday, 4 January 2017

Jazz Bass: Bringing the Shine

Finally got an hour or two to myself after the chaos of the Christmas season. I put it to good use, polishing the body of my Jazz Bass build and getting more Tru-Oil on the neck. Polishing started with 1500 grit, then moving on to 2000 grit and finally Meguiars Ultimate Compound. After two rounds of compound the shine is finally starting to come out. It may need a third!

Ultimate Compound for polishing.
Once I'm happy with the surface after the Ultimate Compound, I'll hit it with one round of Meguiars ScratchX 2.0 just for good measure. In the past I haven't been able to see a noticeable difference with the ScratchX but hey - why not.

In addition to polishing the body, I have managed to get a few more coats of Tru-Oil on the neck. It's definitely starting to look and feel great!

Tru-Oil almost complete on the neck.
This build is coming down the home straight now. Once the polishing is done I'll be able to line the control cavity with copper tape, get the pickups screwed in and soldered and she'll be ready to rock. Not long now!

Tuesday, 6 December 2016

Jazz Bass: To Cover on Not to Cover

Decisions, decisions.

Ok, so I'm not a bass player. I'm not even much of a guitar player. So when I make decisions about hardware etc, I usually go on aesthetics more than anything else. For my Jazz bass I need to decide on hardware - to cover or not to cover? Those bass players out there - do these huge-arse chrome covers make the jazz bass less playable?

50s retro cool to a more playable instrument?

Personally I've always liked them - I think that they give the bass a real 50s retro vibe. But will I hate playing it in the end? What do you guys out there think?

Monday, 5 December 2016

Flamed Starcaster: Headstock Flair

More work on the Starcaster headstock this week. Since there is no shaping required this time around, as a homage to the original Starcaster look I am creating a whooping swirly thing on the headstock. This 'single piece of flair' will be sprayed black and the now world-famous Turner logo will sit inside it.

Using a frisket sheet I cut out my whooping design and carefully stuck it down on the headstock. I then masked off the rest of the headstock and neck ready for spraying with black acrylic. That  was a few days ago now.

Frisket is on and the headstock is masked. Just needs paper to cover the neck.
First coat of black acrylic spray applied.
After the first couple of coats I got some 2000 grit and wet-sanded the black to smooth it out before adding a couple more coats. I then let it sit and dry for a couple of days.

The masking came off the headstock and neck today. I'm pretty happy with how the single piece of flair came out. I tidied it up just a smidge with the craft blade, and got my acrylic logo stuck on there. Looking good! I followed this up with the first soak coat of Tru-Oil before letting her hang in my extra-special drying room for a few hours. The Tru-Oil is slowly bringing the grain in the neck to life, so hopefully she'll look nice in a month or so's time.

Single piece of Flair is on, with the logo positioned inside it.
I followed this up with the first soak coat of Tru-Oil before letting her hang in my extra-special drying room for a few hours. The Tru-Oil is slowly bringing the grain in the neck to life, so hopefully she'll look nice in a month or so's time.

First Tru-Oil soak coat on and soaking.
That last photo of the headstock is very misleading - the colour is no where near that yellow. The colour is more like what you can see in the photo of the neck above it. Anyway, now for the patient drudgery of multiple Tru-Oil coats on the neck. I'm looking forward to getting it over and done with so I can finally set the neck and have this thing actually looking like a guitar!

Wednesday, 30 November 2016

12 String Telecaster - Jangles a Go-Go

Well, she's been finished for a month or two now, but today I finally had time to take some photos of my trans-black 12-string Telecaster.. I reckon she looks amazing! I've always had a thing for black and white Telecasters, and for a 12-string she is surprisingly comfortable to play.

Now admittedly I'm not the best guitar player that ever lived (far from it) and the 12-string is a challenge to play compared to the traditional 6, but god I love picking this bad boy up. Thanks to a nut height that needed no adjusting and a super straight neck, the action is low and very little finger pressure is needed to fret the strings. It's just so comfortable that even I can bust out a tune with just a little extra practice.


Already some scuffs on the back - tough love!

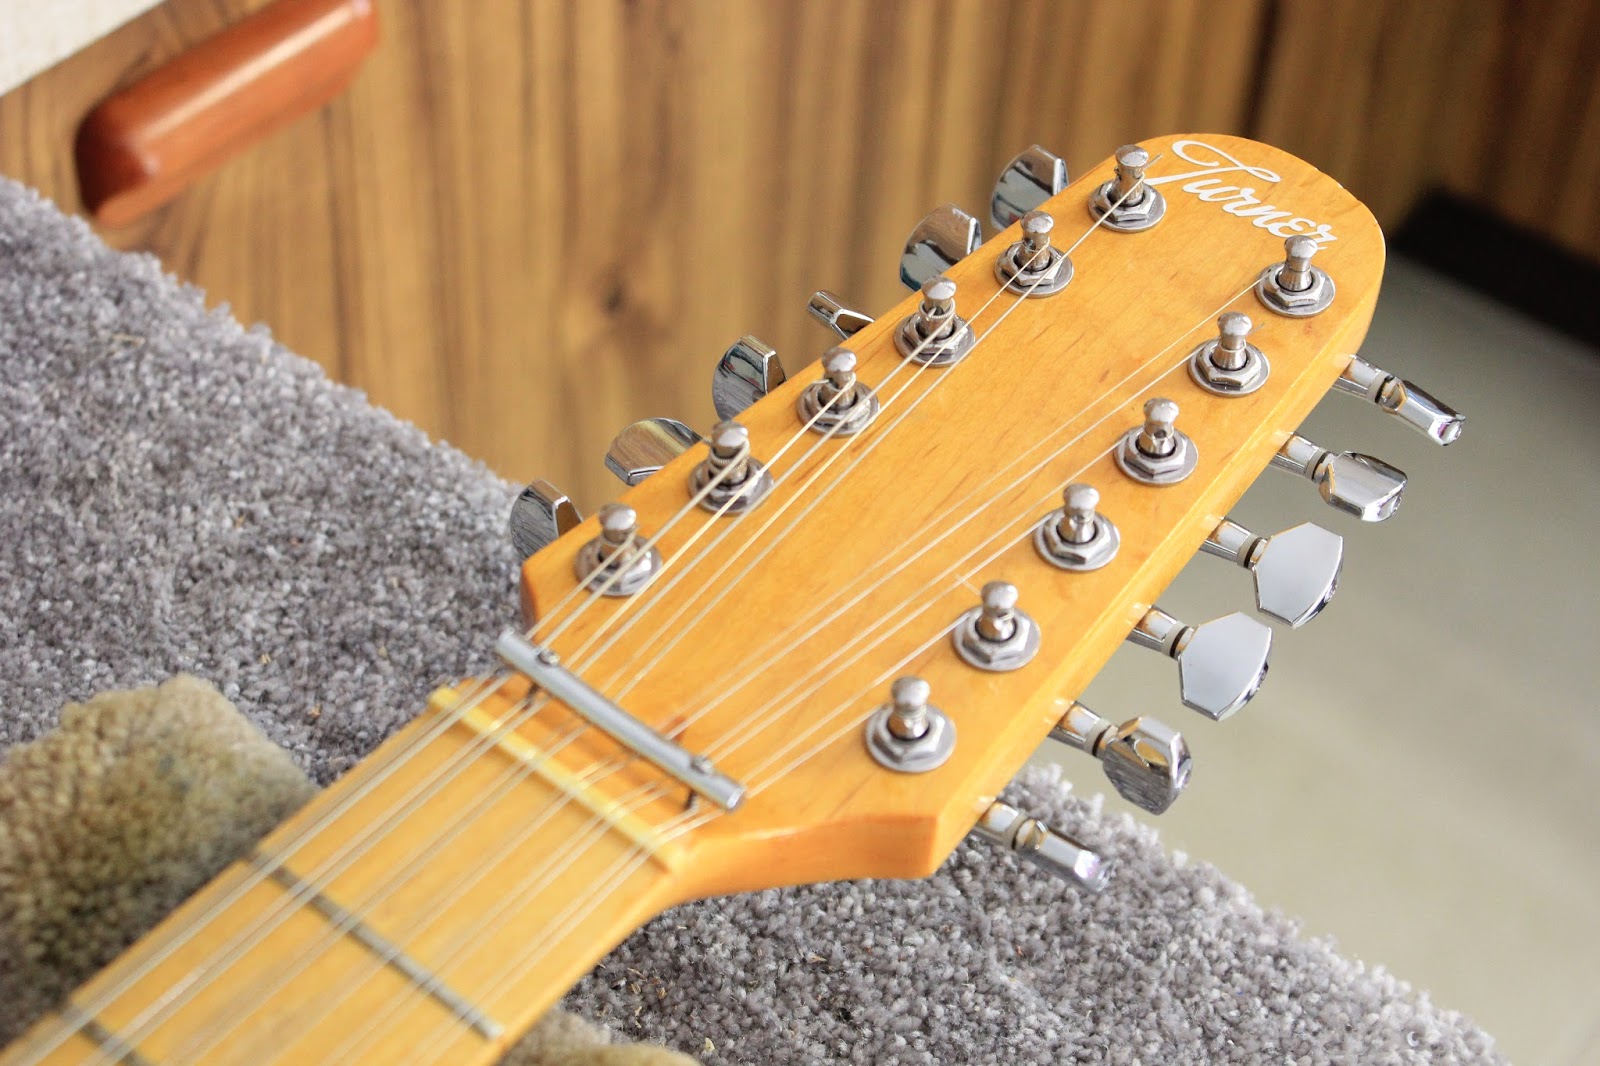
Despite taking half a day to get in tune, once the neck settled down the tuning stability is really quite good. Some locking mini-tuners would make this even better, but I can live with it for now. Some of the strings do need a little tuning tweak now and again and that's ok (as I said, for now). Unfortunately, just checking each and every each string with the electronic tuner is a major undertaking ;).


Trans-black flame maple with a deep Acrylic gloss.
The guitar's single coils deliver a beautiful jangly tone, especially with a clean channel. Open chords are especially nice and the sustain (even accounting for my bad finger placement) is great. Time to channel Marty Wilson Piper and belt out a few tunes by The Church.

Tune me please. Please?

All in all a very satisfying build and a great end result. I can't stop picking this thing up and strumming it. DIYGuitars did a good job with the kit, especially the dialed in nut height and I'm really impressed with the kit quality. I highly recommend you all to get out there and build your own 12 string Telecaster. There aren't many of them out in the wild (compared to other models) and that makes it all the more satisfying to own one.

Monday, 28 November 2016

Jeremy's Mahogany Les Paul: Neck Re-radius and Re-fret

Hi ho everybody, I'm continuing my run of posts with an update on my Les Paul build for Jeremy over at http://guitargas.com. Unfortunately, with the build nearing the home straight, I somehow messed up the fret levelling and ended up with frets that were all over the place. I have subsequently found out that there was a very subtle twist in the neck that I could not see, but hey- no excuses pal!

Anyway, with the frets munged beyond repair (well, by me that is ;) ), I enlisted the help of luthier extraordinaire Dingobass at Pitbull Guitars to bring the neck back from the dead. I commissioned a fret replacement and sent the neck to WA for DB to work on. By the time DB received the neck, however, it was in an even worse state than even I could have put it in. Even with a metric fuckload of bubble wrap, good old Australia Post managed to break the corner off the fretboard. Grrrr - you fuckers!!!

Why Australia Post? Why do you suck so fucking hard??
To my relief, DB assured me that he could reverse this travesty and set to work weaving his magic on the fretboard. The results were nothing short of spectacular.


With a wave of his wand, DB restores the fretboard.
With the fretboard repaired to better then new, DB set about doing a re-fret, level and re-crown on the entire neck. The results speak for themselves. An infinitely better result than muggins here could achieve with his two hands full of thumbs. Thanks DB, you're the real deal and you saved my ass.

With DB's re-fret the fretboard looks superb!
With the neck back in my hot little hands, it was time to get it set and finally move ahead with this bad boy. With some Titebond, some clamps and some prayer (all hail the Flying Spagetti Monster) the neck was soon attached and the axe was finally looking like something.

It's a guitar Jim!
To be honest with you, I'm really loving how this baby is looking. This just could be my nicest looking build to date. I think Jeremy will be pleased (I hope so anyway). Hardware assembly is next on the list, so cross fingers for no more issues!

Jazz Bass: Headstock Shaping and Tru-Oil for the Neck

Sorry guys, it's been a long, long time since I posted any updates on any builds to this little bloggerino. Unfortunately I've been terribly busy with work, and am finding less and less time to either build (which is utterly fucking depressing) or even to write about it. Anyway I'm hoping to address this situation in the coming weeks - with several builds close to completion, I would really like to share the results with you all.

Anyway, today's post concerns the Jazz Bass build which recently changed it's colour to Surf Green and got a few coats of acrylic clear. It's looking pretty good I dare say, and while the clear coats cure, I have finally found some time to shape the headstock and sand the neck smooth.

The standard Fender Jazz Bass headstock template.
I managed to find a bunch of Fender bass headstock templates on the TDPRI site, and hoped they would be enough to seal the deal. I decided on the stock standard jazz bass template and printed the pdf 100% scale. Problem was, the template (as usual) didn't really match the headstock blank from the factory. In the end I was forced to use the template to mark out the circular end of the headstock, and then just free-hand the curved fin along the bottom. Not really a problem - even with my shoddy drawing skills there's nothing a belt sander and drum sander can't fix right? Right. Anyway, the stars seemed to align, the jig saw did as it was told, and even the sanding disc and slap wheels didn't burn out the edges. Sweet

With the headstock shaped, I sanded the neck down to 360 grit and raised the grain a few times with water before staining. This time around I went for a weak solution of Colortone Vintage Amber (I do love those vintage tones) and did 3 passes in quick succession in an attempt to pop as much of the grain on this nice looking maple neck as I could.

Headstock shaped, Vintage Amber applied and 1st coat of Tru-Oil.
After the dye was dry, it was on with the first soak coat of Tru-Oil and the maple just drank it up. Man, I can already see that the grain on this neck is really going to pop when the oil gets in there. About another 10 coats or so to go, so patience grasshopper, patience..

Friday, 24 June 2016

Flamed Starcaster: Side Finish

With the burst looking great on the front and back of the Starcaster build, the more I looked at it, the less pleased I was with how the dyed sides looked. It was time to make a tough decision. If you remember from my last update on this project, the dye didn't take on the sides in a number of places where the craftsmanship was exceedingly average. Looking at it again, I decided to apply a solid colour to the sides to cover over these patches. I re-filled the entire surface with Timbermate, applied some primer, and sprayed two coats of MTN94 "RV-99 Marron Glace" over it all. Thankfully my masking was good and none of the primer or colour made it onto the front or back.

Stain would have been better, but MTN94 has covered the bad workmanship.
I'm really glad that I made the decision. The end result is pretty damn good I reckon - much better than the stain over those shoddy patches. I'm really liking how this baby is now shaping up. I'm in a bit of a quandry about what colour to stain the neck, as I usually go with a colour to match the sides. That's not going to happen in this case - there's no way I'm going to spray the neck a solid colour as well. Maybe Amber with a bit of a dirty Tobacco burst, but I'm still thinking.