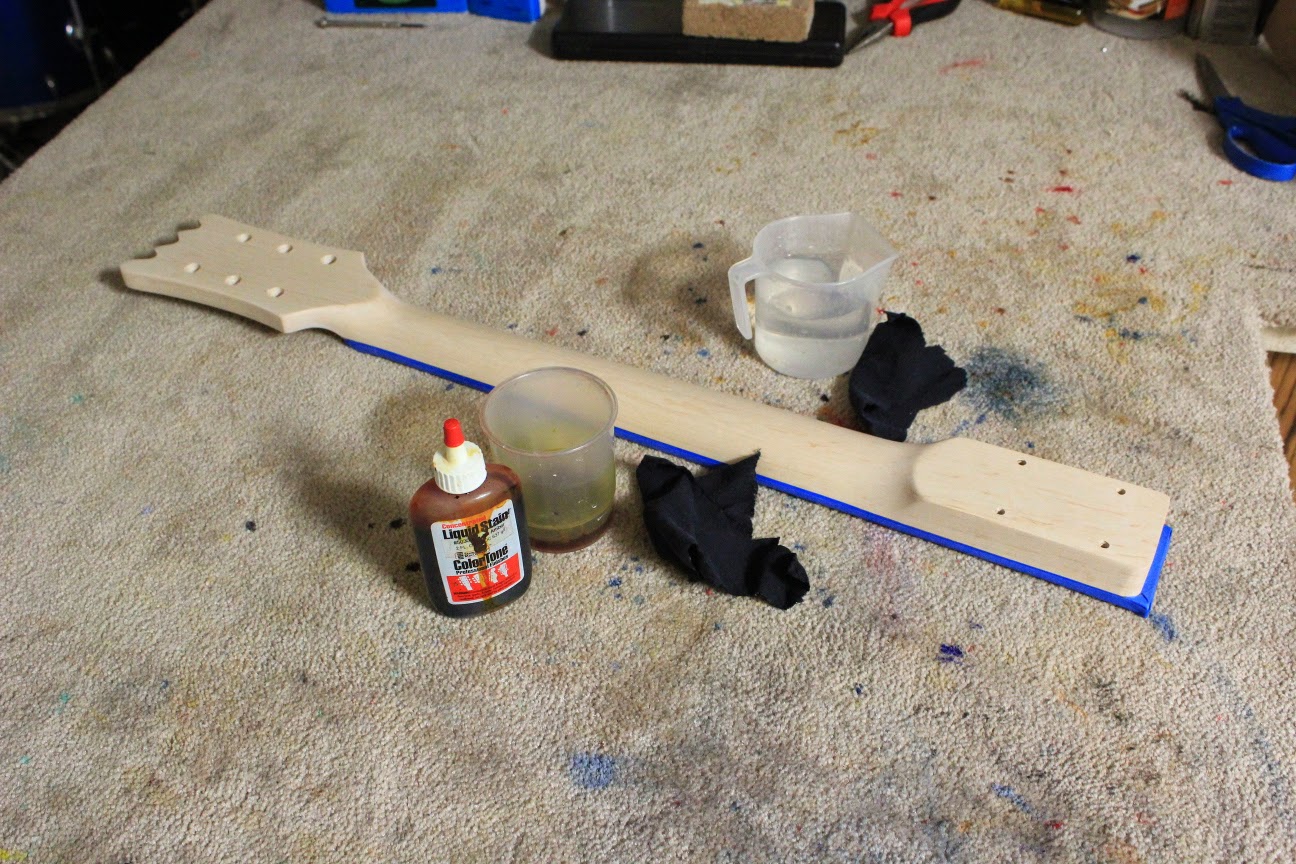
For this build I'm aiming for a light yellow colour as per Johnny's original Mosrite. To achieve this I will be using Colortone Vintage Amber dye mixed with water.
Step 1. Sanding
Rock maple necks are generally machined to a high standard straight from the factory. The finish is nice and smooth from the get go. Therefore, there is no need to start sanding at very low grits. Generally I start at 360 grit and then progress to 400 and then 600. I find that's all that is required for a super silky neck. You don't want to go too low if you are going to be dying the maple - you want *some* dye to get in there, and it wont if the surface is too "polished".
Step 2. Mask off the Fretboard.
Before liquids are involved, I generally mask off the fretboard. Even if you are just using water, fretboards (especially rosewood) are often dyed themselves at the factory and you risk the dye running (on to your maple!) if water gets on there. To mask the fretboard I use 6mm 471 tape from 3M at the boundary between the maple and rosewood. This gives the fretboard good protection where it needs it most. On top of this I generally use some blue painters tape to go up and over the edge of the fretboard.
Step 3. Prepare Your Water and Stain
Get some water in one container and mix your Colortone dye with some water in another. Test the concentration of the dye on a test piece of pine or similar - it should be *lighter* than your target colour!

Step 4. Raise the Grain
Before going any further it is important to raise the grain - once the dye goes on you won't want to sand the maple again! To raise the grain, wipe the maple all over with a damp rag and wait for it to dry.
You will immediately feel that your nice smooth neck feels rough again. These are the end grains that have swollen up with the water and are now sticking out! Once the neck is dry, give it a very light lick with the 600 grit paper again to take the raised grains off. The neck should be back to its smooth self again.
It is very important that you don't over sand at this stage. You don't want to expose *new* grains, just get rid of those that have been raised. Repeat this two step process at least 1 more time.
Step 5. Dampen the Surface
Before you actually start applying the stain, dampen the whole surface of the neck again. This prevents streaks in the final dye job by allowing the maple to pre-absorb a little liquid. You'll find that your dye job is a lot more even if you pre-wet the surface!
Step 6. Apply the Dye
Now apply your dye with a cotton rag. Go easy, with only a small amount of dye on the rag at first. Wring the rag out after dipping it in the container o prevent drips and runs. Apply dye evenly over the whole neck before starting again with a second pass.
Keep going over in successive passes until the desired strength of colour is reached. Wait for the dye to dry completely and that is job done!
I haven't decided yet what I will be using as clear coats. I'm tossing up whether to use Tru-Oil or Wudtone clear neck finish. Wudtone is much less hassle, but Tru-Oil adds depth and an earthy tone to the colour. Hmmm, decisions...


No comments:
Post a Comment